Windows 11: Using the Windows File Explorer for Advanced File Management
Unlock the Power of Windows 11 File Explorer: Your Guide to Advanced File Management.
Hey there, fellow Windows enthusiasts! Ever feel like your digital life is a bit… chaotic? Like trying to find thatonedocument in a mountain of files that seems to multiply faster than rabbits? We've all been there. You click through folder after folder, muttering to yourself, wondering if the file gods are playing a cruel joke. Maybe you even start questioning your organizational skills (or lack thereof!).
Think about it: How many times have you spent precious minutes (or even hours!) just searching for a single file? Time you could have spent actuallydoingsomething productive, like binge-watching your favorite show or finally tackling that DIY project you’ve been putting off. The struggle is real.
And let’s be honest, the default Windows File Explorer experience can feel a little… vanilla. It's functional, sure, but it doesn't exactly inspire excitement. It's like that beige wall paint in every rental apartment – it gets the job done, but it’s hardly inspiring or efficient.
But fear not, my friends! Because the Windows 11 File Explorer, despite its sometimes-underwhelming reputation, is actually a powerful tool packed with features that can seriously level up your file management game. It's like discovering that your seemingly ordinary Swiss Army knife has a hidden compartment with a miniature chainsaw – you just need to know where to look! It's not just about dragging and dropping files anymore.
We're talking about advanced search capabilities, efficient organization techniques, and even ways to customize the Explorer to perfectly suit your workflow. Imagine being able to find any file in seconds, effortlessly sort and categorize your documents, and generally feel like a digital organization ninja. Sounds pretty good, right?
The secret? Mastering the art of advanced file management within Windows 11 File Explorer. It’s about unlocking its hidden potential and transforming it from a mundane tool into your personal productivity powerhouse. It’s about learning to wrangle those digital files and bend them to your will. (Okay, maybe notbendthem, but definitely organize them effectively!) Think of it as your digital decluttering journey, but instead of Marie Kondo-ing your closet, you're Marie Kondo-ing your entire computer. And trust us, your sanity will thank you.
In this comprehensive guide, we’re going to dive deep into the world of Windows 11 File Explorer and uncover all its secrets. We’ll show you how to use it to its full potential, transforming you from a frustrated file-searcher into a master of digital organization. So, are you ready to take control of your files and finally achieve digital nirvana? Stick around, because we're about to show you how to make Windows 11 File Explorer your new best friend. What are you waiting for? Let’s begin!
Mastering File Explorer in Windows 11
Unlocking Advanced File Management Techniques
So, you're ready to transform your File Explorer experience, huh? Excellent choice! Forget about endless scrolling and frantic searching. We’re about to delve into some serious file management wizardry. Let’s begin.
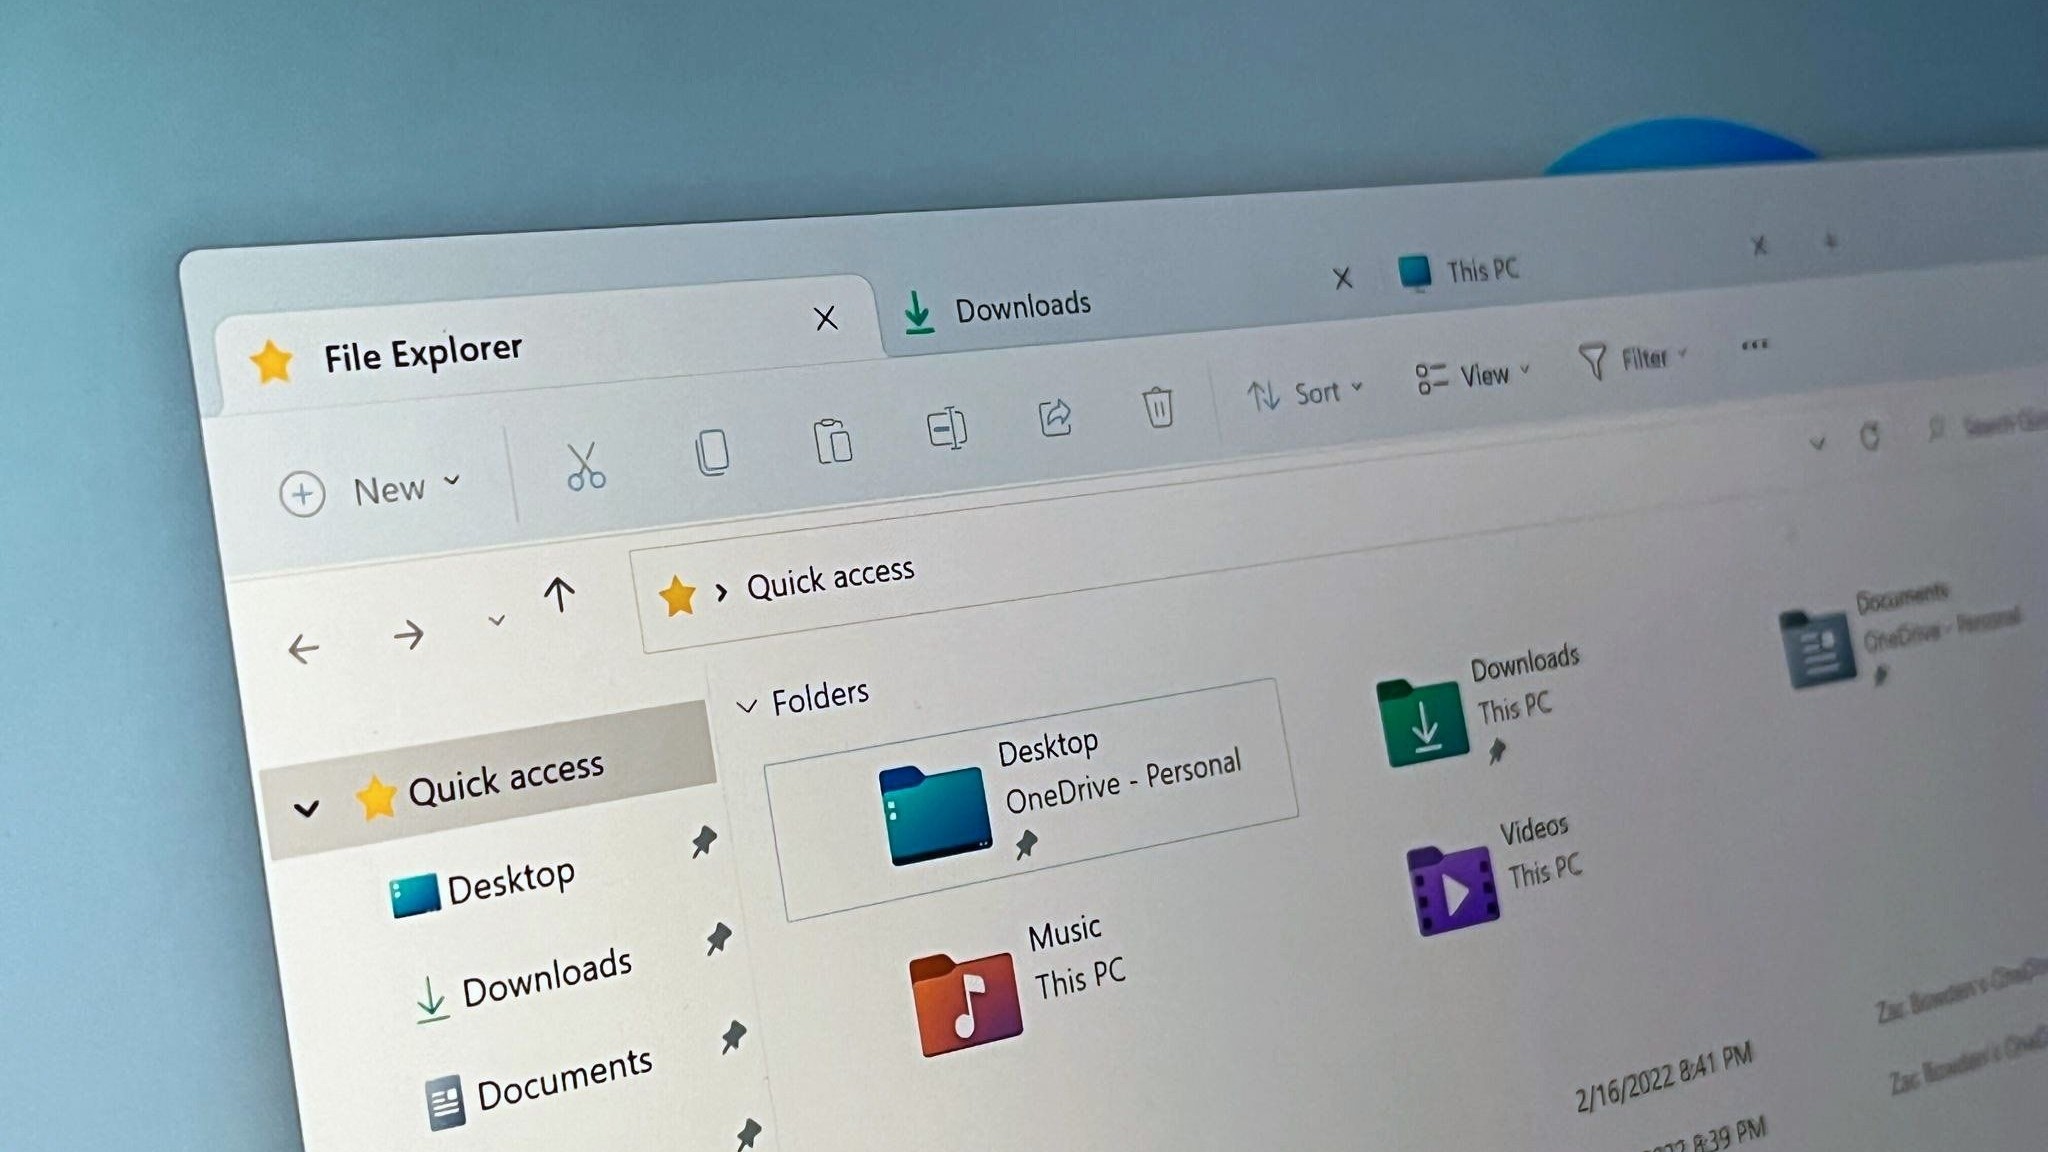
• Customizing the Quick Access Toolbar: Your Personal File Hub: Think of the Quick Access Toolbar as your VIP section in File Explorer. It's that little row of icons at the top left, usually featuring things like "Save" and Undo.But guess what? You can completely customize it to include the commands you usemostoften. No more digging through menus – your favorite actions are just a click away. To Customize the Quick Access Toolbar:
Right-click on any command within the ribbon.
Select "Add to Quick Access Toolbar".
Boom! Instant access to your frequently used tools.
• Harnessing the Power of Advanced Search: Find Anything, Fast: The built-in search function in File Explorer is more powerful than you might think. It’s not just about typing in a filename. You can use advanced search operators to narrow down your results based on file type, date modified, size, and even content. For Example: To find all Word documents modified in the last week, type "type:doc date:last week" into the search bar. These operators are your best friends when you need to find something specific buried deep within your files.
• Mastering File Organization: Folders, Libraries, and Beyond: Folders are the foundation of good file management, but libraries take it to the next level. Libraries allow you to group files from different locations into a single, virtual folder. It's like creating shortcuts without actually moving the files. This is especially useful if you have files related to the same project stored in different folders. To Create a New Library:
In the left pane of File Explorer, right-click on "Libraries" (if you don't see "Libraries", right-click in the left pane and select "Show libraries").
Select "New" and then "Library".
Give your library a name and add the folders you want to include.
• Utilizing Tags for Enhanced Categorization: Ever wish you could categorize files with more than just folders? Tags are the answer! You can add custom tags to files to categorize them based on project, client, or any other criteria you can think of. To Add a Tag:
Right-click on a file.
Select "Properties".
Go to the "Details" tab.
Click on the "Tags" field and enter your desired tag(s).
Tags make it incredibly easy to find related files, even if they're scattered across different folders.
• Customizing Folder Views: See What You Need to See: File Explorer offers a variety of folder views – Large icons, Small icons, Details, List, etc. But did you know you can customize these views to show exactly the information you need? For example, in "Details" view, you can add columns for things like file size, date created, and even tags. To Customize Folder Views:
In File Explorer, click on the "View" tab.
Select "Add columns" and choose the columns you want to display. You can also click "Choose columns" for more advanced options.
Experiment with different views and columns to find the perfect setup for each folder.
• Using Keyboard Shortcuts for Efficiency: Speed Up Your Workflow: Keyboard shortcuts are a game-changer for file management. Learn a few key shortcuts and you'll be navigating File Explorer like a pro. Some essentials include:
Ctrl + N: Open a new File Explorer window.
Ctrl + Shift + N: Create a new folder.
Alt + Up Arrow: Go up one level in the folder hierarchy.
Alt + Left Arrow: Go back.
Alt + Right Arrow: Go forward.
These shortcuts will save you countless clicks and make your file management tasks much faster.
• Cloud Integration: Seamlessly Access Your Files Anywhere: Windows 11 seamlessly integrates with cloud storage services like One Drive, Dropbox, and Google Drive. This means you can access your files from any device, and easily share them with others. To Integrate Cloud Storage:
Install the desktop app for your cloud storage service.
Sign in to your account.
Your cloud storage folder will appear in the left pane of File Explorer, allowing you to access and manage your files just like any other folder.
• File History: Your Time Machine for Files: Accidents happen. Sometimes you accidentally delete a file or make unwanted changes. That's where File History comes in. It automatically backs up your files to an external drive, allowing you to restore previous versions. To Set Up File History:
Connect an external drive to your computer.
Search for "File History" in the Start menu and open it.
Turn on File History and select your external drive as the backup location.
File History is a lifesaver when you need to recover a lost file or revert to an older version.
• Compression and Extraction: Managing Large Files with Ease: Large files can be a pain to share and store. That's where compression comes in. You can compress files into a ZIP archive to reduce their size. Windows 11 has built-in support for ZIP files, so you don't need any extra software. To Compress Files:
Select the files you want to compress.
Right-click on the selected files.
Select "Compress to ZIP file".
To extract files from a ZIP archive, simply right-click on the ZIP file and select "Extract All".
• Using the Ribbon Interface Effectively: Discover Hidden Features: The Ribbon interface at the top of File Explorer is packed with useful features. Take some time to explore the different tabs and see what's available. You might discover hidden gems you never knew existed. For Example: The "Share" tab allows you to easily share files via email, Bluetooth, or nearby sharing. The "View" tab offers options for changing the layout, sorting, and grouping files.
Real-World Scenarios and Examples
Okay, enough theory. Let's see how these advanced file management techniques can be applied to real-world scenarios.
• Scenario 1: Managing Project Files: Imagine you're working on a complex project with files scattered across different folders. Use libraries to create a virtual folder that contains all the files related to the project, regardless of their physical location. Use tags to categorize files by task or deliverable. Customize the folder view to show relevant information like file size, date modified, and tags. This will make it much easier to stay organized and find the files you need quickly.
• Scenario 2: Organizing Photos: If you're like most people, you probably have thousands of photos scattered across your computer. Use folders to organize photos by date, event, or subject. Use tags to add keywords like "family," "vacation," or landscape.Customize the folder view to show large thumbnails and the date taken. This will make it much easier to find specific photos and relive those precious memories.
• Scenario 3: Backing Up Important Documents: Your important documents are irreplaceable. Use File History to automatically back them up to an external drive. This will protect you from data loss due to hardware failure, accidental deletion, or ransomware attacks. Consider using cloud storage as an additional backup solution. This will ensure that your files are safe and accessible even if your computer is lost or stolen.
By mastering these advanced file management techniques, you can transform your Windows 11 File Explorer experience and become a true digital organization guru. So go ahead, experiment, and discover the power of File Explorer!
Frequently Asked Questions
Let's tackle some common questions about advanced file management in Windows 11 File Explorer.
• Question: How can I make File Explorer open to a specific folder every time?
Answer: It's super simple! Right-click on the File Explorer icon on your taskbar, then right-click on "File Explorer" in the menu that pops up. Select Properties.In the "Target" field, add the path to your desired folder after "explorer.exe". For example, "explorer.exe C:\My Documents". Click "Apply" and "OK". Now, File Explorer will always open to your chosen folder.
• Question: Can I customize the appearance of File Explorer?
Answer: Absolutely! While Windows 11 has streamlined the design, you can still tweak things. Go to "View" in the ribbon, and you can change the layout, sorting, grouping, and even show or hide certain elements like the preview pane or navigation pane. For deeper customization, you might need to explore third-party themes or utilities, but be cautious and only use reputable sources.
• Question: Is there a way to recover deleted files permanently deleted from the Recycle Bin?
Answer: Recovering permanently deleted files can be tricky. Once a file is removed from the Recycle Bin, it's essentially gone from the file system. However, there are data recovery tools available that can scan your hard drive for traces of deleted files. These tools aren't guaranteed to work, especially if the space has been overwritten, but they're worth a try if you're desperate to recover something important. Remember prevention is better than cure. Use File History and back up important files!
• Question: How can I improve File Explorer performance when dealing with large folders?
Answer: Large folders can sometimes slow down File Explorer. Here are a few tips to improve performance: First, try disabling the preview pane (View > Preview pane). Second, make sure your drive is defragmented (search for "defragment and optimize drives"). Third, consider upgrading your computer's hardware, especially the RAM and hard drive. Finally, avoid storing excessively large files in a single folder – break them down into smaller, more manageable chunks.
Conclusion
Alright, friends, we've reached the end of our File Explorer adventure! We started with the frustrating reality of digital disorganization and journeyed through the hidden depths of Windows 11 File Explorer. You've learned how to customize the Quick Access Toolbar, master advanced search techniques, organize your files with folders, libraries, and tags, and even recover deleted files. You're practically a file management ninja now!
The key takeaway? Windows 11 File Explorer is more than just a basic file browser. It's a powerful tool that, when used effectively, can dramatically improve your productivity and reduce your digital stress. It's about taking control of your files and creating a system that works for you. It's not just about finding files faster; it's about having a sense of order and control in your digital life.
Now, here's your call to action: Take what you've learned today and put it into practice. Start by customizing your Quick Access Toolbar with the commands you use most often. Experiment with advanced search operators to find those elusive files. Create a library for your most important project. Add tags to your photos to make them easier to find. The more you use these techniques, the more efficient you'll become.
Don't be afraid to experiment and find what works best for you. File management is a personal thing, and there's no one-size-fits-all solution. The goal is to create a system that makes sense to you and helps you stay organized.
Remember, mastering Windows 11 File Explorer is an ongoing process. It takes time and effort to develop good habits, but the rewards are well worth it. So, embrace the challenge, have fun with it, and enjoy the newfound freedom of a well-organized digital life.
So, go forth and conquer your files! You now have the knowledge and tools to transform your Windows 11 File Explorer experience. Embrace the power of organization and say goodbye to digital chaos forever. Now, go forth and organize!
Post a Comment for "Windows 11: Using the Windows File Explorer for Advanced File Management"
Post a Comment