Windows 11: Using the Windows File Explorer for Efficient File Management
Master Windows 11: Taming File Explorer for Peak Productivity
Unleash your inner file-wrangling ninja with Windows 11's File Explorer! This guide dives deep into maximizing your file management efficiency, offering tips and tricks even seasoned users might have missed. Forget digital clutter – let's conquer your files, one folder at a time!
Introduction: Decoding the Windows 11 File Explorer
Hey there, tech enthusiasts and everyday computer users! Ever feel like your files are playing hide-and-seek on your Windows 11 machine? Or perhaps you spend more timesearchingfor that one crucial document than actuallyworkingon it? If you're nodding along, you're definitely not alone. We've all been there, wrestling with digital chaos and yearning for a semblance of order. That's where the unsung hero of Windows – the File Explorer – swoops in to save the day.
The Windows 11 File Explorer isn't just some basic window for browsing files; it's a powerful tool packed with features designed to streamline your workflow and boost your productivity. Think of it as the control center for all your digital assets – documents, images, videos, and everything in between. But let’s be honest, most of us barely scratch the surface of its capabilities. We stick to the basics: creating folders, copying files, and maybe the occasional search. However, the File Explorer can do so much more, including file compression and quick access to items.
Think of your computer's file system like a giant, disorganized closet. Without a proper system, finding what you need becomes a frustrating treasure hunt. The Windows 11 File Explorer is like that magic organizing system that transforms your chaotic closet into a perfectly curated space where everything has its place. Imagine finding thatonephoto you need in seconds instead of scrolling through endless folders. Or instantly accessing your most used documents without having to navigate a labyrinth of directories. Sounds pretty good, right?
But whyaren’tmore people using the File Explorer to its full potential? Well, partly it's because many of these awesome features are hidden in plain sight. Or, let's be real, maybe nobody ever told you they even existed. It's like discovering a secret menu at your favorite restaurant – once you know it's there, you can't go back! This guide aims to be your secret menu, revealing all the hidden gems and power-user tricks that will transform the way you manage files.
We'll explore everything from customizing the interface to advanced search techniques, keyboard shortcuts that will make you feel like a coding wizard, and even tips on integrating your cloud storage seamlessly. Get ready to take control of your digital life and become a master of the Windows 11 File Explorer. So, buckle up, fellow file explorers, because we're about to embark on a journey to conquer digital clutter and unlock the true potential of this often-overlooked tool. Are you ready to discover how the File Explorer can become your ultimate productivity weapon? Let's dive in!
Understanding the Basics of Windows 11 File Explorer
Okay, before we get into the fancy stuff, let's make sure we're all on the same page with the fundamentals. Think of this as File Explorer 101. We'll cover the basic interface, navigation, and essential functions that form the foundation of effective file management in Windows
11. Let’s start with opening the application.
Launching the File Explorer
There are several ways to launch File Explorer, making it accessible regardless of your workflow preferences. You can simply click on the File Explorer icon on your taskbar (it looks like a folder). Alternatively, use the Windows key + E shortcut – a lifesaver for keyboard enthusiasts! Another option is to search for "File Explorer" in the Start Menu. Pick whichever method suits you best; they all lead to the same destination.
Navigating the Interface
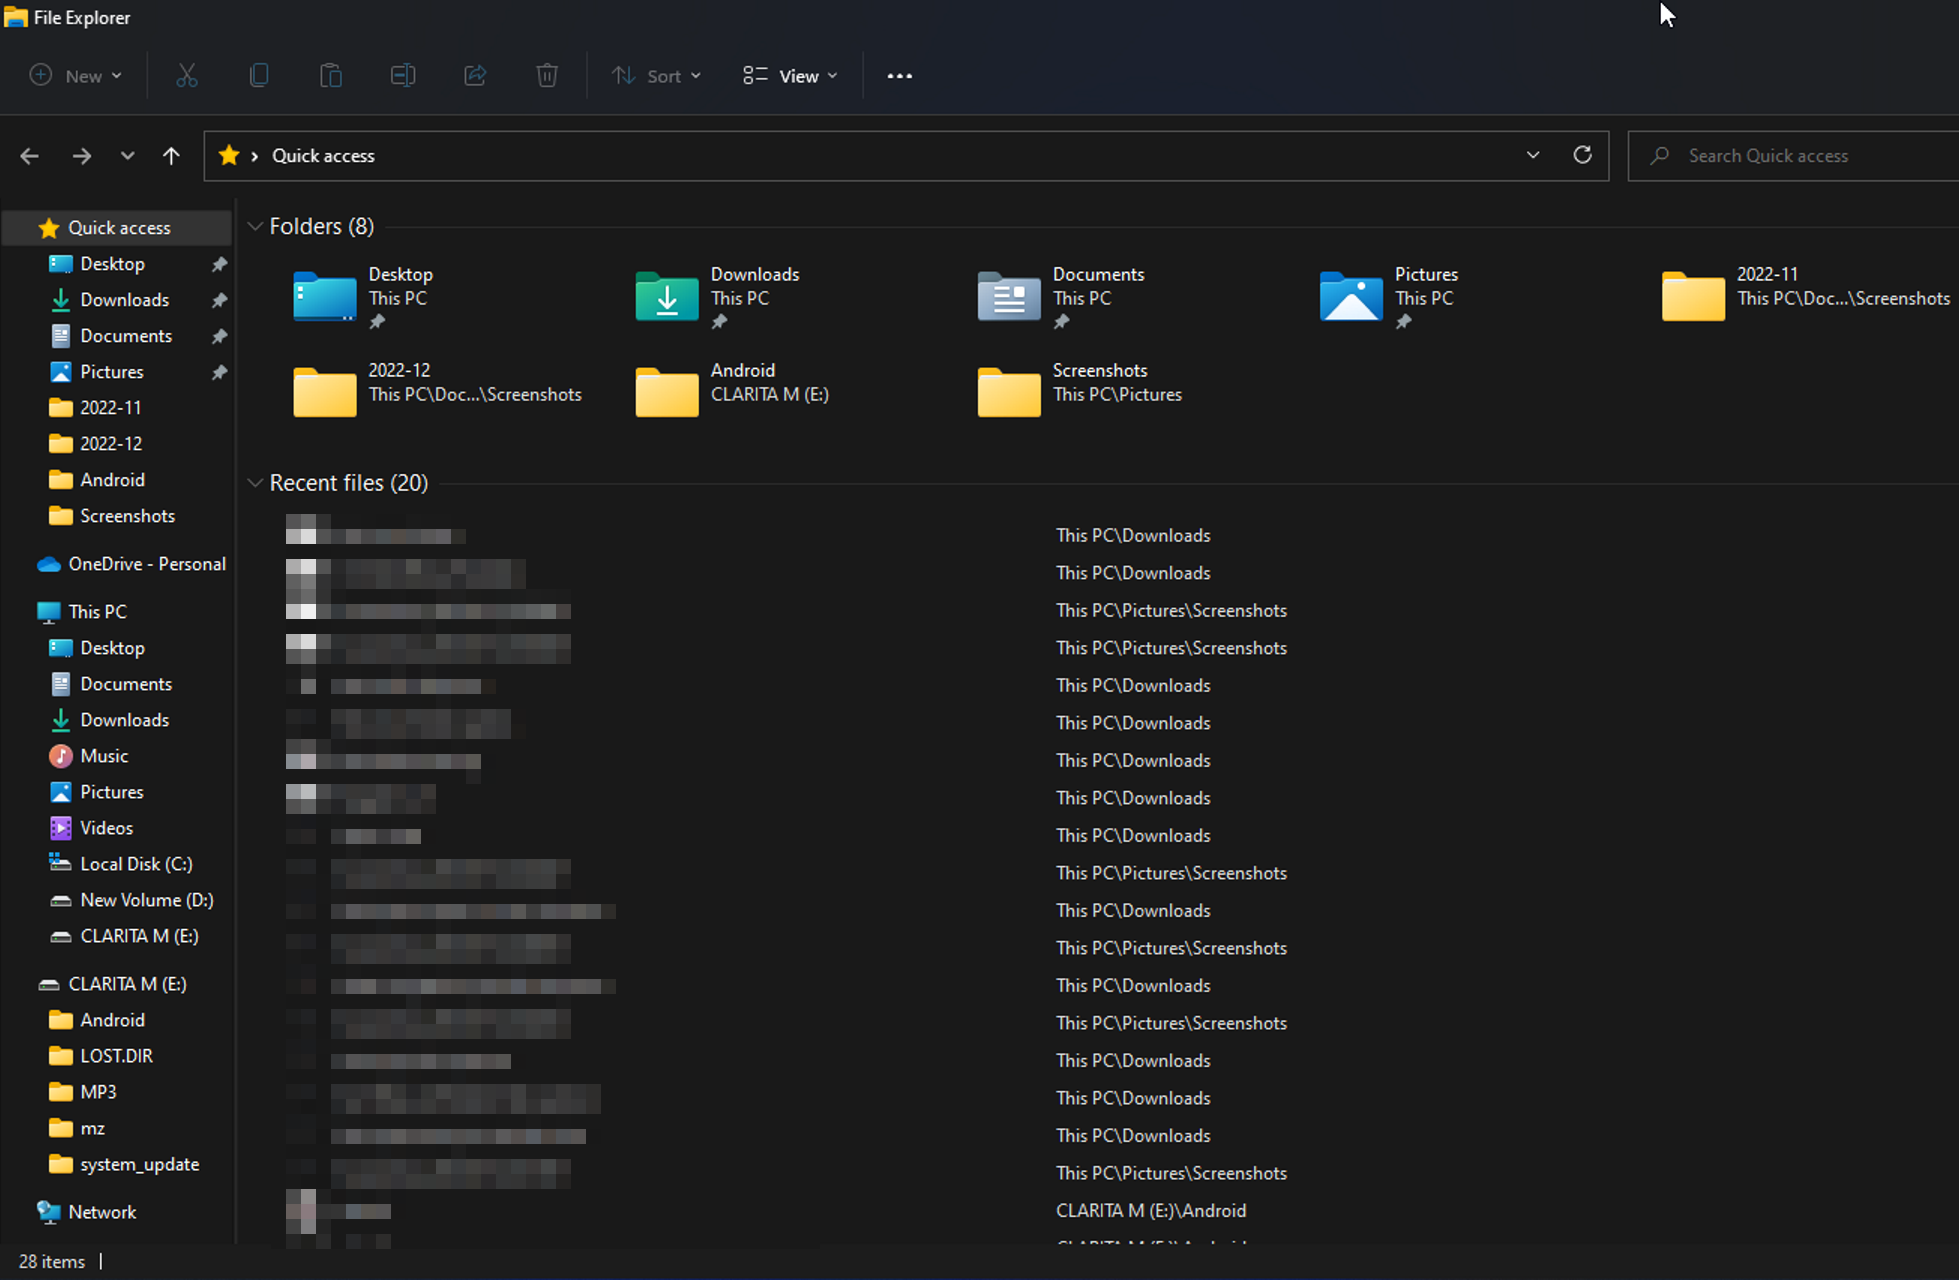
The File Explorer window is divided into several key areas. On the left, you have the Navigation Pane, which provides quick access to frequently used locations like Quick Access, This PC, Network, and any cloud storage services you've connected. The main area is the File List, displaying the contents of the currently selected folder. At the top, you'll find the Ribbon, a toolbar packed with commands organized into tabs like File, Home, Share, and View. Take a moment to familiarize yourself with these areas; understanding their layout is crucial for efficient navigation.
Essential File Operations: Copying, Moving, and Deleting
These are the bread and butter of file management. To copy a file, right-click on it, select "Copy," navigate to the destination folder, right-click again, and select Paste.Moving a file is similar, but instead of "Copy," you choose Cut.Be careful with "Cut" because the file is temporarily removed from its original location until pasted. Deleting a file is as simple as right-clicking and selecting "Delete," or pressing the Delete key. Remember that deleted files usually end up in the Recycle Bin, so you can recover them if needed. However, emptying the Recycle Bin permanently removes the files. Always double-check before emptying the bin!
Creating and Managing Folders
Folders are the building blocks of your file organization system. To create a new folder, right-click in an empty area within the File List, select "New," and then Folder.Give your folder a descriptive name that reflects its contents. Folders can be nested within other folders to create a hierarchical structure. A good folder structure is essential for keeping your files organized and easily accessible. Think of it as building a well-organized library rather than just piling books on the floor.
Mastering the Windows 11 File Explorer Interface
Now that we've covered the basics, let's delve deeper into customizing the File Explorer interface to suit your specific needs. The File Explorer has many options available that are easy to set up. Optimizing how it looks and behaves can significantly improve your productivity and overall experience.
Customizing the Ribbon
The Ribbon, located at the top of the File Explorer window, is a goldmine of commands. However, its default configuration might not include all the features you use frequently. Fortunately, you can customize the Ribbon to add, remove, and rearrange commands to your liking. Right-click anywhere on the Ribbon and select "Customize the Ribbon." This opens a window where you can add commands to existing tabs or even create your own custom tabs with the tools you use most often. Consider adding commands like "Copy Path," "Pin to Quick Access," or "New Text Document" for quick access.
Configuring the Quick Access Toolbar
Located in the upper-left corner of the File Explorer window, the Quick Access Toolbar provides instant access to commonly used commands like Save, Undo, and Redo. You can easily add more commands to this toolbar by clicking the small dropdown arrow at the end of the toolbar and selecting from the list of available options. You can also right-click on any command in the Ribbon and select "Add to Quick Access Toolbar." This is a great way to keep your most essential tools always within reach.
Adjusting View Options
The File Explorer offers a variety of view options to display your files and folders, each with its own advantages. You can choose from Extra Large Icons, Large Icons, Medium Icons, Small Icons, List, Details, Tiles, and Content. The Detailsview is particularly useful for displaying file metadata like date modified, file size, and file type. To change the view option, click the "View" tab in the Ribbon and select your preferred option from the "Layout" group. Experiment with different views to find the one that best suits your needs. For example, if you're working with images, the Large Iconsview might be ideal. If you're managing a large collection of documents, the Detailsview could be more helpful.
The Navigation Pane: Your Speedy Sidekick
Don't underestimate the power of the Navigation Pane on the left side of the File Explorer window. It provides quick access to important locations like Quick Access, This PC, Network, and One Drive. You can customize the Navigation Pane to add or remove locations, making it even more efficient. To add a folder to Quick Access, simply drag and drop it from the File List to the Quick Accesssection in the Navigation Pane. You can also right-click on a folder and select "Pin to Quick Access." To remove a location from Quick Access, right-click on it and select "Unpin from Quick Access." Keep your frequently used folders pinned to Quick Access for instant access.
Advanced File Management Techniques in Windows 11
Now, let’s get into the advanced techniques that will set you apart as a true File Explorer master. These techniques will help you manage your files more efficiently, automate repetitive tasks, and unlock hidden features that can significantly boost your productivity.
Mastering Search Operators
The search bar in the upper-right corner of the File Explorer is more powerful than you might think. By using search operators, you can refine your searches and find exactly what you're looking for in seconds. For example, use "type:docx" to find all Word documents, "size:>10MB" to find files larger than 10MB, or "date:today" to find files modified today. You can also combine operators for more complex searches, such as "type:docx size:>10MB date:this week" to find all Word documents larger than 10MB modified this week. Mastering search operators can save you countless hours of manual searching.
Utilizing File Tags
Windows 11 allows you to add tags to your files, making it easier to categorize and search for them. To add a tag, right-click on a file, select "Properties," and then go to the "Details" tab. In the "Tags" field, enter one or more tags separated by semicolons. For example, you might tag a document as "Project X;Report;Draft." You can then search for files by tag using the "tags:" operator in the search bar, such as "tags:Project X." File tags are especially useful for organizing files across different folders and locations.
Creating Symbolic Links
Symbolic links are like shortcuts on steroids. They allow you to create a link to a file or folder in another location, making it appear as if it's actually located in both places. This is particularly useful for managing large files or folders that you need to access from multiple locations. To create a symbolic link, open Command Prompt as an administrator, navigate to the desired location, and use the "mklink" command. For example, to create a symbolic link to a folder named "My Folder" in the "C:\Data" directory, you would use the command "mklink /D C:\My Shortcut C:\Data\My Folder."
Batch Renaming Files
If you need to rename multiple files at once, the File Explorer has a built-in batch renaming feature. Select all the files you want to rename, right-click on the first file, and select Rename.Enter the new name, and Windows will automatically rename all the selected files with a numbered sequence. For example, if you rename the first file to "Image," the other files will be renamed "Image (1)," "Image (2)," and so on. This feature is a huge time-saver when dealing with large collections of files.
Integrating Cloud Storage with Windows 11 File Explorer
In today's digital landscape, cloud storage is an essential part of our workflow. Windows 11 seamlessly integrates with popular cloud storage services like One Drive, Google Drive, and Dropbox, making it easy to access and manage your files from anywhere.
Connecting Cloud Storage Accounts
Connecting your cloud storage accounts to the File Explorer is a breeze. Simply download and install the desktop app for your chosen service (One Drive comes pre-installed with Windows 11). Once installed, sign in to your account, and the service will automatically create a folder in the File Explorer Navigation Pane. This folder provides access to all your cloud-stored files and folders, just like any other local drive.
Syncing Files and Folders
One of the biggest advantages of cloud storage integration is automatic file synchronization. When you add, modify, or delete a file in your cloud storage folder, the changes are automatically synced to the cloud and across all your devices. This ensures that you always have the latest version of your files, regardless of where you're working. You can configure which folders are synced to your computer and whether files are stored locally or only in the cloud.
Optimizing Storage Space with Files On-Demand
One Drive offers a feature called "Files On-Demand," which allows you to access all your cloud-stored files without taking up space on your local drive. With Files On-Demand enabled, you'll see placeholders for your files in the File Explorer. When you need to access a file, it's downloaded from the cloud on demand. This is a great way to save storage space, especially if you have a large collection of files in the cloud.
Sharing Files and Folders Directly from File Explorer
Windows 11 makes it easy to share files and folders directly from the File Explorer. Right-click on the file or folder you want to share, select "Share," and choose your sharing options. You can generate a link to share with others, send the file via email, or share it directly to social media. You can also set permissions to control who can access and edit the shared file or folder.
File Explorer Keyboard Shortcuts for Peak Efficiency
Okay, friends, let's talk about speed. Seriously, whodoesn'twant to get things done faster? Using keyboard shortcuts in the File Explorer is like unlocking a cheat code to productivity. Once you learn these shortcuts, you'll zip around your files like a digital ninja, leaving your mouse in the dust.
Essential Navigation ShortcutsCtrl + N: Open a new File Explorer window. Windows Key + E: Open File Explorer (a classic!).Alt + Left Arrow: Go back one folder. Alt + Right Arrow: Go forward one folder.Alt + Up Arrow: Go to the parent folder. Ctrl + Shift + N: Create a new folder.
File and Folder Management ShortcutsCtrl + C: Copy selected file(s) or folder(s). Ctrl + X: Cut selected file(s) or folder(s).Ctrl + V: Paste copied or cut file(s) or folder(s). Ctrl + A: Select all files and folders in the current location.Delete: Delete selected file(s) or folder(s). Shift + Delete: Permanently delete selected file(s) or folder(s) (bypasses the Recycle Bin – use with caution!).F2:Rename selected file(s) or folder(s).
Search and View ShortcutsCtrl + F: Start a search in the current folder. Ctrl + Mouse Wheel: Change the size of icons (zoom in or out).Alt + Enter:Open the Properties window for the selected file(s) or folder(s).
Mastering Advanced ShortcutsAlt + D: Select the address bar for quick typing. Ctrl + Shift + E: Shows all folders above selected folderCtrl + E:Jump to the search bar.
Troubleshooting Common File Explorer Issues in Windows 11
Even with all the tips and tricks we've covered, sometimes things just go wrong. The File Explorer might freeze, crash, or exhibit other strange behaviors. Don't panic! Here are some common issues and how to fix them.
File Explorer Freezing or Crashing
If the File Explorer freezes or crashes frequently, the first thing to try is restarting it. Press Ctrl + Shift + Esc to open the Task Manager, find "Windows Explorer" in the list of processes, right-click on it, and select Restart.This will restart the File Explorer without restarting your entire computer. If that doesn't work, try running the System File Checker (SFC) tool. Open Command Prompt as an administrator and type "sfc /scannow" (without quotes) and press Enter. This will scan your system files for errors and attempt to repair them.
Slow Performance
If the File Explorer is running slowly, there are several potential causes. One possibility is that you have too many files in a single folder. Try organizing your files into subfolders to reduce the number of items in each folder. Another possibility is that your hard drive is fragmented. Run the Disk Defragmenter tool to optimize your hard drive. You can also try disabling unnecessary startup programs, as these can consume system resources and slow down the File Explorer.
Missing or Incorrect Icons
If icons are missing or displaying incorrectly, try rebuilding the icon cache. Open Command Prompt as an administrator and enter the following commands, pressing Enter after each one:
```
ie4uinit.exe -show
taskkill /im explorer.exe /f
del %appdata%\Microsoft\Windows\Explorer\iconcache. db /a
start explorer.exe
```
This will rebuild the icon cache and hopefully restore the correct icons.
File Explorer Not Responding
If the File Explorer is completely unresponsive, try running the Windows Troubleshooter. Go to Settings > System > Troubleshoot > Other troubleshooters and run the "Hardware and Devices" troubleshooter. This will scan your system for hardware issues and attempt to fix them. You can also try performing a clean boot of Windows to rule out any software conflicts.
Conclusion: File Explorer Mastery Achieved!
We've reached the end of our journey through the Windows 11 File Explorer! You've now learned how to harness its power, customize it to your liking, and troubleshoot common issues. From mastering basic navigation to utilizing advanced search operators and integrating cloud storage, you're well-equipped to conquer digital clutter and boost your productivity.
Remember, the key to File Explorer mastery is practice. Experiment with the features we've discussed, try out different view options, and get comfortable using keyboard shortcuts. The more you use the File Explorer, the more efficient you'll become. Think of your files as a well-organized library instead of a disorganized mess.
Now it's time to take action! Start by customizing your File Explorer interface to suit your specific needs. Pin your most frequently used folders to Quick Access, customize the Ribbon with your favorite commands, and configure the Quick Access Toolbar for instant access to essential tools.
Then, put your newfound knowledge to the test. Try using search operators to find specific files, create symbolic links to manage large files, and batch rename files to save time. Integrate your cloud storage accounts for seamless access to your files from anywhere.
Embrace the power of the Windows 11 File Explorer and transform the way you manage your digital life. Take command of your files, streamline your workflow, and unlock your full productivity potential. Let the File Explorer become your faithful ally in the digital world! Now go forth, file explorer, and conquer the chaos! Are you ready to create a meticulously ordered, user-friendly digital world?
Post a Comment for "Windows 11: Using the Windows File Explorer for Efficient File Management"
Post a Comment