Windows 11: Using the Windows File Explorer for Advanced File Management
Unleash the Power User Within: Mastering Windows 11 File Explorer.
Hey there, tech enthusiasts! Ever feel like you're just scratching the surface of what your Windows 11 File Explorer can actually do? I mean, sure, you can open it, browse folders, and maybe even rename a file or two. But let's be honest, for many of us, it's been the same old song and dance since, well, forever. We're stuck in a file management rut! It's like driving a Ferrari in first gear – you know there's immense power under the hood, but you're not quite sure how to unleash it. And let's not even talk about the chaos that ensues when youthinkyou've deleted that embarrassing photo from that wild party, only to have it resurface during a crucial presentation. We’ve all been there, haven't we?
Think about it. How much time do you waste every week just searching for files? Or wrestling with cluttered folders? Or trying to remember where you saved thatoneimportant document? It adds up! That precious time could be spent binge-watching your favorite shows, learning a new skill, or even, gasp, enjoying the great outdoors. The File Explorer, that seemingly simple window into your digital world, is actually a surprisingly powerful tool. A tool capable of boosting your productivity and helping you get a handle on your digital life. It's not just about browsing folders; it's about mastering your files, streamlining your workflow, and becoming a true digital ninja.
The Windows 11 File Explorer has seen some significant upgrades and refinements, offering features and functionalities that go way beyond the basics. From advanced searching and filtering to cloud integration and custom organization options, there's a whole universe of file management possibilities waiting to be explored. So, are you ready to ditch the digital clutter, conquer your files, and transform yourself from a File Explorer novice to a master? Buckle up, friends, because we’re about to dive deep into the hidden depths of Windows 11 File Explorer and unlock its full potential. Prepare to be amazed!
Windows 11: Using the Windows File Explorer for Advanced File Management
Okay, friends, let's get real. You probably use File Explorer every single day, but how much do youreallyknow about it? It's like that coworker you see all the time – you know their name, but you haven't actually had a meaningful conversation. Windows 11 File Explorer has a ton of hidden features and tricks up its sleeve that can seriously boost your productivity. Forget about aimlessly clicking through folders; we’re going to turn you into a file management pro.
Unlocking the Secrets of the File Explorer
Let's dive into some of the features and functionalities of the Windows 11 File Explorer that many users often overlook. The goal here is to transform you from a casual user into a power user. I'll give you actionable steps on how to use each feature, making your file management tasks easier and faster. Get ready to revolutionize the way you organize and interact with your digital files.
Mastering the Art of Search
Ever spent what feels like an eternity searching for that one crucial file buried deep within your system? Well, fret no more! The search function in Windows 11 File Explorer is much more powerful than you think. It's not just about typing in a filename; it's about wielding the search bar like a magic wand.
• Advanced Search Filters:
Dive deeper than basic searches. Use filters like "date modified," "file size," and "file type" to narrow down your results. For example, if you remember working on a document last week, but can't recall the name, type in a keyword and then filter by "date modified" to only show files from the past seven days. This single trick can save you tons of time!
• Boolean Operators:
Use "AND," "OR," and "NOT" to create complex search queries. Let's say you're looking for a presentation about marketing that doesn't mention sales. You could type "marketing AND presentation NOT sales" and File Explorer will do the rest. It’s like having a personal search assistant right at your fingertips.
• Indexing Options:
Make sure your frequently accessed folders are indexed for faster searches. To check indexing options, go to "Control Panel" -> "Indexing Options." Add or remove folders as needed. Keep in mind that indexing more locations can consume more system resources, so balance speed with performance.
Taming the Chaos with Tabs and Panes
Windows 11 introduced tabs to File Explorer, and it's a game-changer. No more juggling multiple windows and getting lost in a sea of folders. This is a fantastic feature that I personally use every day.
• Tab Management:
Just like in your favorite web browser, you can now open multiple folders in different tabs within the same File Explorer window. Drag and drop tabs to rearrange them, pin frequently used folders for quick access, and even duplicate tabs to quickly jump to similar locations. This simple feature can dramatically reduce clutter and improve your workflow.
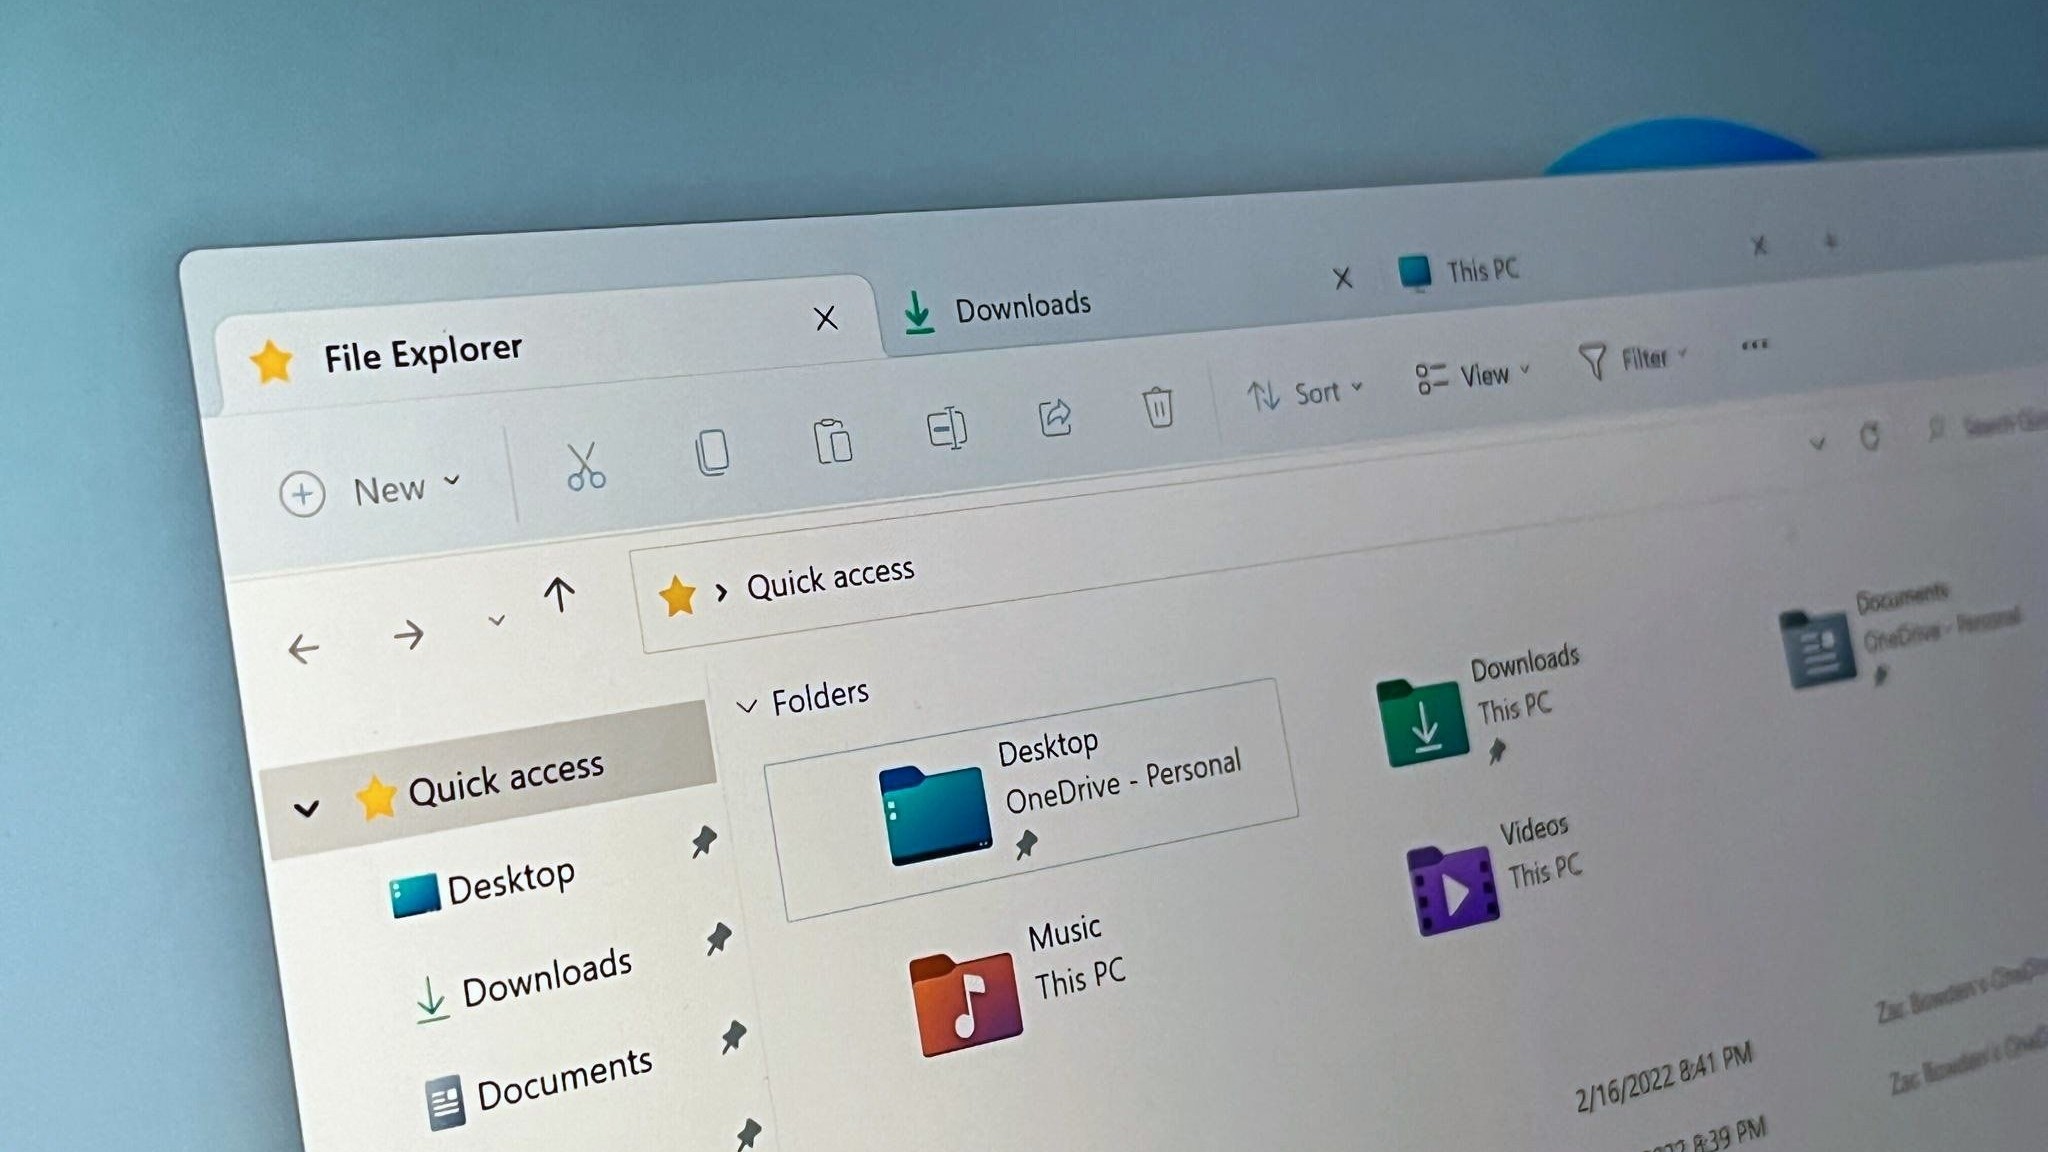
• Using the Navigation Pane:
The navigation pane on the left side of File Explorer is your best friend for quick access to frequently used locations. Pin your go-to folders, libraries, and even network locations for one-click access. Customize the pane to show only the items you need, decluttering your view and making navigation a breeze.
• Preview Pane Power:
Enable the preview pane to quickly view the contents of files without actually opening them. This is especially useful for images, documents, and videos. Simply select a file, and the preview pane will display its contents, saving you time and effort.
Cloud Integration for Seamless Access
In today’s world, cloud storage is king. Windows 11 File Explorer seamlessly integrates with One Drive and other cloud services, allowing you to access your files from anywhere. I find this incredibly useful when working on multiple devices.
• One Drive Integration:
One Drive is deeply integrated into File Explorer. Access your One Drive files directly from the navigation pane, share files with others with a simple right-click, and automatically sync your files across devices. Make sure you configure One Drive settings to suit your needs, such as choosing which folders to sync and setting upload/download limits.
• Adding Other Cloud Services:
While One Drive is the default, you can also integrate other cloud services like Dropbox and Google Drive with File Explorer. Install the respective desktop apps, and their folders will appear in the navigation pane. This allows you to manage all your cloud files from a single location.
• Offline Access:
Enable offline access to your cloud files so you can work on them even when you're not connected to the internet. Changes will automatically sync when you're back online. This is a lifesaver when you're traveling or working in areas with unreliable internet.
Customization is Key: Tailoring File Explorer to Your Needs
One size doesn't fit all, and that’s certainly true when it comes to file management. Windows 11 File Explorer offers a wealth of customization options to make it your own.
• Quick Access Customization:
The Quick Access section in File Explorer is your personal shortcut hub. Pin frequently used folders, files, and even searches for instant access. Right-click on any folder or file and select "Pin to Quick Access." This is a great way to keep your most important items just a click away.
• Folder Options:
Dive into the "Folder Options" dialog (accessible from the "View" tab) to customize the way File Explorer looks and behaves. Change how folders open, control the display of hidden files and folders, and even customize the appearance of icons. These settings can significantly impact your file management experience.
• Choosing the Right View:
File Explorer offers multiple view options, including "Details," "List," "Large icons," and "Small icons." Experiment with different views to find the one that best suits your needs. For example, the "Details" view is great for sorting and filtering files based on various attributes, while the "Large icons" view is ideal for quickly identifying images and videos.
Advanced File Operations: Beyond the Basics
Ready to take your file management skills to the next level? Let’s explore some advanced file operations that can save you time and effort.
• Using Keyboard Shortcuts:
Mastering keyboard shortcuts is a surefire way to boost your productivity. Here are a few essential shortcuts for File Explorer:
- Ctrl+N: Open a new File Explorer window
- Ctrl+W: Close the current File Explorer window
- Ctrl+Shift+N: Create a new folder
- Alt+Up Arrow: Go up one level in the folder hierarchy
- Alt+Left Arrow: Go back to the previous folder
- Alt+Right Arrow: Go forward to the next folder
These shortcuts might seem small, but they add up over time, saving you valuable seconds with each use.
• Batch Renaming:
Need to rename a bunch of files at once? Select all the files, right-click on one of them, and choose Rename.Type in a new name, and Windows will automatically append a number to each file. This is a lifesaver when you're organizing photos, videos, or documents.
• Using the Clipboard History:
Windows 11 has a built-in clipboard history feature that allows you to access multiple items you've copied to the clipboard. Press Win+V to open the clipboard history, and then paste any of the previously copied items. This is incredibly useful when you need to copy and paste multiple pieces of information between different files or applications.
Taking Control with Storage Sense
Storage Sense is a handy feature in Windows 11 that automatically frees up disk space by deleting temporary files, emptying the Recycle Bin, and cleaning up other unnecessary data. I always make sure Storage Sense is enabled on my system.
• Enabling and Configuring Storage Sense:
Go to "Settings" -> "System" -> "Storage" and turn on Storage Sense. You can configure it to run automatically on a schedule (e.g., daily, weekly, or monthly) or when your disk space is low. Customize the settings to suit your needs, such as choosing how often to empty the Recycle Bin and deleting temporary files.
• Manual Cleanup:
Even with Storage Sense enabled, it's a good idea to periodically run a manual cleanup to remove any leftover files. Click the "Storage Sense" button in the "Storage" settings to initiate a manual cleanup. This will scan your system for unnecessary files and allow you to delete them.
• Deep Clean Recommendations:
Storage Sense will also give recommendations for cleaning large or unused files and applications. Review these recommendations regularly and take action to free up disk space. This can help improve your system's performance and prevent it from running out of storage.
These are just a few of the many ways you can use Windows 11 File Explorer for advanced file management. By mastering these techniques, you'll be able to organize your files more efficiently, find what you need faster, and boost your overall productivity. So go ahead, experiment with these features, and discover the full potential of the File Explorer!
Frequently Asked Questions (FAQ)
Alright, let’s tackle some common questions about using Windows 11 File Explorer for advanced file management. I've tried to anticipate the questions that might be swirling around in your mind right now.
• Question 1: How can I make File Explorer open to a specific folder every time?
Answer: Easy! Right-click on the File Explorer icon in your taskbar or Start menu, then right-click on "File Explorer" again in the context menu that appears. Select Properties.In the "Target" field, add the path to your desired folder after "explorer.exe". For example, "explorer.exe C:\My Documents". Click "Apply" and OK.Now, every time you open File Explorer from that shortcut, it will start in your specified folder. (Note: Doing this will change the default opening directory when you open File Explorer from the taskbar icon only. Other links will continue to open the default "Quick Access" folder.)
• Question 2: Is there a way to recover a file I accidentally deleted?
Answer: Absolutely! First, check the Recycle Bin. If the file is there, simply right-click on it and select Restore.If it's not in the Recycle Bin, you can try using file recovery software like Recuva, Ease US Data Recovery Wizard, or Disk Drill. These tools can scan your hard drive for deleted files and attempt to recover them. Act quickly, as the chances of successful recovery diminish over time as new data overwrites the deleted file's location.
• Question 3: How do I show hidden files and folders in File Explorer?
Answer: Go to the "View" tab in File Explorer, then click on "Show" in the toolbar. Check the box next to "Hidden items." This will reveal all hidden files and folders, which will appear with a slightly faded icon. Be careful when modifying or deleting hidden files, as they often contain important system data. To hide them again, simply uncheck the "Hidden items" box.
• Question 4: Can I customize the ribbon in File Explorer?
Answer: Yes, to some extent. While you can't add custom commands or tabs to the ribbon, you can customize the Quick Access Toolbar, which is located above the ribbon. To do this, click the small arrow at the end of the Quick Access Toolbar and select "Customize Quick Access Toolbar." From there, you can add frequently used commands to the toolbar for quick access. You can also minimize the ribbon completely by pressing Ctrl+F1 if you prefer a cleaner look.
In Conclusion
Alright, friends, we've reached the end of our journey into the depths of Windows 11 File Explorer. Let's recap what we've covered. We started by acknowledging the common frustration of feeling like you're not fully utilizing this powerful tool. We then dove into a bunch of actionable techniques, including mastering the search function, taming the chaos with tabs and panes, leveraging cloud integration, customizing File Explorer to your needs, exploring advanced file operations, and taking control with Storage Sense. We even answered some frequently asked questions to address common concerns and challenges.
Now it’s your turn. Take everything you've learned today and put it into practice. Start by implementing just one or two of these techniques in your daily workflow. Maybe begin by customizing your Quick Access section or experimenting with advanced search filters. As you become more comfortable, gradually incorporate more features into your routine. The key is to be patient, persistent, and willing to experiment. With a little effort, you'll be amazed at how much more efficient and productive you can become.
So, what are you waiting for? Go forth and conquer your files! Unleash the power user within and transform yourself into a true File Explorer master. And hey, why not share your newfound knowledge with your friends and colleagues? Spread the word about these awesome tips and tricks, and help them become more productive too.
Are you ready to take your file management skills to the next level? Start experimenting with these techniques today, and let me know in the comments which ones you found most helpful! What's the first thing you plan to try out?
Post a Comment for "Windows 11: Using the Windows File Explorer for Advanced File Management"
Post a Comment