Windows 11: Using the Windows Control Panel for System Tweaks
Unlock the Power of Windows: Mastering System Tweaks with Control Panel
Hey there, tech enthusiasts! Ever feel like your Windows 11 machine could be running a little… smoother? Like it's wading through molasses instead of sprinting like a cheetah? We've all been there. It's that frustrating moment when you know your computer has the potential, but it's just not living up to it. Maybe your startup time is glacial, or perhaps certain programs are acting like they're permanently stuck in slow motion. It's enough to make you want to chuck your PC out the window (pun intended!).
Think of it this way: you buy a brand new sports car, all shiny and powerful. But the dealer sets the rev limiter super low and puts cheap tires on it. Sure, it stillworks, but you're not getting the full experience. That's kind of how a freshly installed Windows system can feel sometimes. All the potential is there, but it needs a little tweaking to unleash its inner beast.
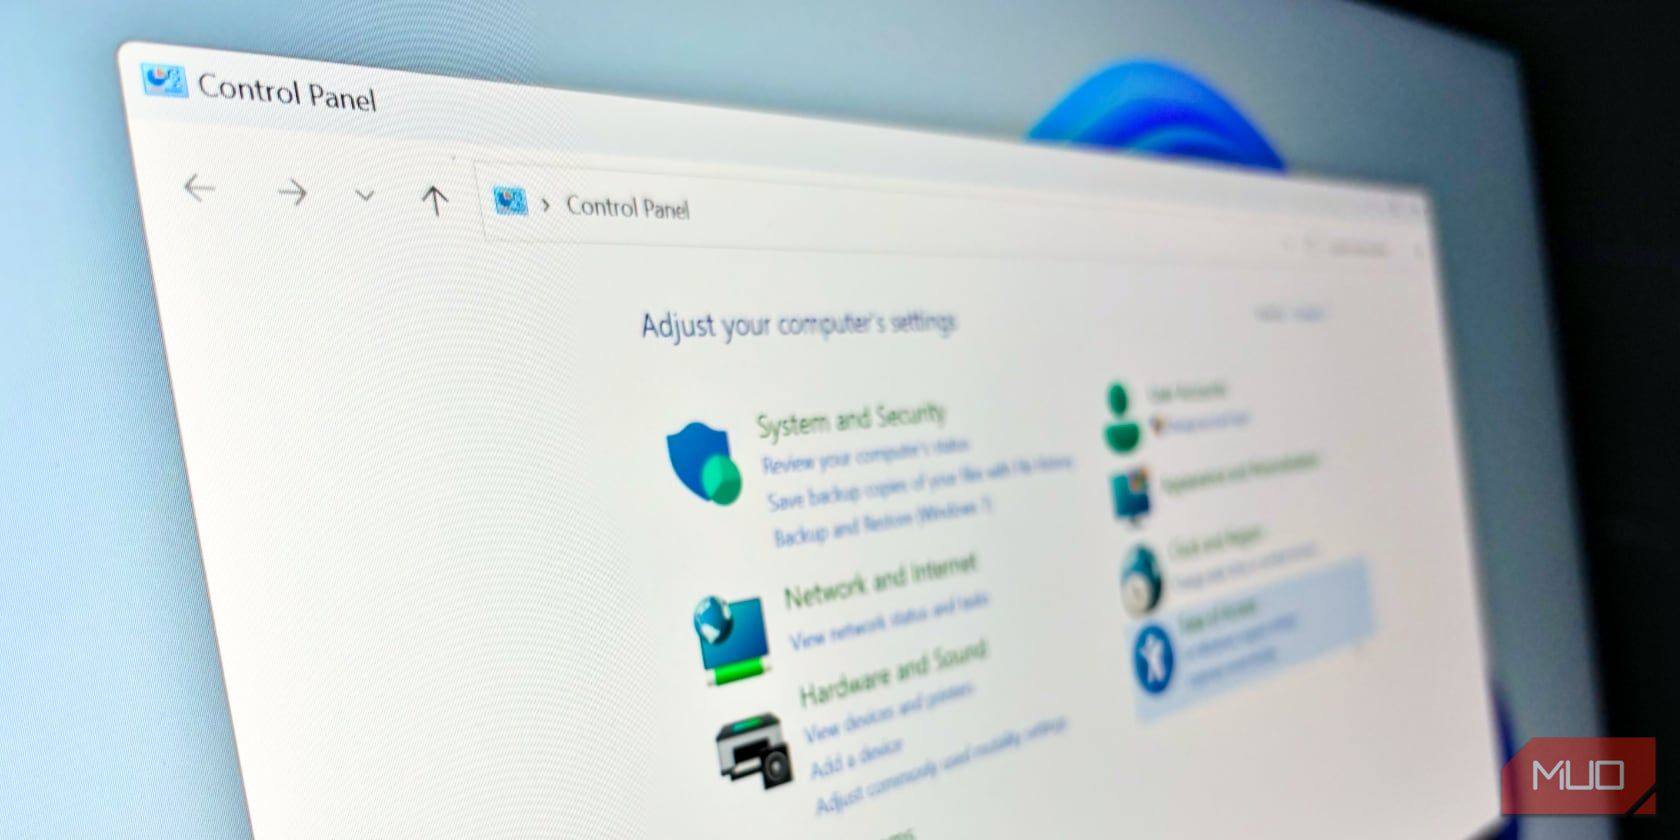
Now, you might be thinking, "Tweaking? Sounds complicated! I'm no computer guru." And that's perfectly fine! You don't need to be a coding ninja or a registry wizard to get your system purring like a kitten. In fact, you might be surprised to learn that many of the most effective system tweaks are easily accessible through a familiar, yet often overlooked, tool: the Windows Control Panel. Yes, that old friend! It's not just for uninstalling programs, you know. It's a treasure trove of options that can help you fine-tune your Windows 11 experience and whip your computer into shape.
We're not talking about hacking into the matrix or performing arcane rituals. We're talking about simple, practical adjustments that can make a noticeable difference in your system's performance and responsiveness. From optimizing power settings to managing startup programs, the Control Panel offers a surprising amount of control over your computer's behavior. It's like having a secret decoder ring that unlocks hidden performance boosts. And the best part? You don't need a degree in computer science to use it. A little patience and a willingness to explore are all you need.
So, are you ready to ditch the sluggishness and unleash the true potential of your Windows 11 machine? Get ready to dive into the wonderful world of the Control Panel, where we'll uncover some of its most valuable system tweaking secrets. Prepare to be amazed at how much you can achieve with just a few simple clicks! Stay tuned, because we're about to transform your computer from a tortoise into a hare!
• Optimize Power Options for Performance
Let's start with something super simple but often overlooked: power options. Windows, by default, tries to conserve power, especially on laptops. This is great for battery life, but not so great for performance. It’s like putting your race car in eco-mode. To unleash the full potential, you need to switch to a performance-oriented power plan. Here's how:
• Open the Control Panel. The easiest way is to search for "Control Panel" in the Windows search bar.
• Navigate to "Hardware and Sound," then click on "Power Options."
• You'll likely see a few different power plans, such as "Balanced," "Power saver," and possibly a "High performance" option. If you see "High performance," select it immediately. This will tell Windows to prioritize performance over battery life.
• If you don’t see "High performance," click on "Show additional plans." It might be hiding there. Still no luck? No worries! You can create your own custom plan. Click on "Create a power plan" in the left sidebar.
• Choose a plan to start with (usually "High performance" if available, or "Balanced" as a base), give it a name (like "My Performance Plan"), and click Next.
• Now, you can customize the plan to your liking. On the next screen, you can adjust when the display turns off and when the computer goes to sleep. These settings don't directly impact performance, so feel free to set them according to your preferences.
• Finally, click Create.Your new performance plan is now active!
Real-life example: I had a friend who was constantly complaining about how slow his laptop was. He was a gamer, and his games were constantly stuttering. I suggested he check his power plan, and sure enough, it was set to "Power saver." After switching to "High performance," his games ran significantly smoother. He was amazed at the difference such a simple change could make.
• Manage Startup Programs for Faster Boot Times
Another common culprit for sluggish performance is the sheer number of programs that launch automatically when you start your computer. Many applications, without asking, decide they need to load every time you boot up. This can significantly increase your boot time and bog down your system resources. It’s like having a bunch of unwanted guests crashing your party before it even starts. Time to clean house!
• Open the Control Panel and go to "System and Security," then "Administrative Tools."
• Double-click on "System Configuration." Alternatively, you can search for "msconfig" in the Windows search bar and run the System Configuration utility directly.
• In the System Configuration window, go to the "Startup" tab.
• Here, you'll see a list of programs that are configured to launch at startup. Take a good look at the list. Do you recognize all of these programs? Are there any that you don't use regularly?
• To disable a startup program, simply uncheck the box next to its name. Be careful not to disable essential system services, but anything that looks like a third-party application is fair game.
• After making your changes, click "Apply" and then OK.You'll be prompted to restart your computer. It's a good idea to do so, so the changes can take effect.
Alternatively, Windows 10 and 11 have a slightly easier way to manage startup programs via the Task Manager:
• Press Ctrl+Shift+Esc to open the Task Manager.
• Go to the "Startup apps" tab.
• Here, you’ll see a list of startup programs and their “Startup impact” (High, Medium, Low, or Not measured).
• To disable a program, right-click on it and select “Disable.”
Current Trend: Modern applications often use "delayed start" techniques to minimize the impact on boot times. This means they don't launch immediately at startup but instead wait a few minutes. However, even delayed startup programs can contribute to overall system sluggishness, so it's still a good idea to review your startup list regularly.
• Adjust Visual Effects for Enhanced Responsiveness
Windows is full of eye candy, from smooth animations to fancy transitions. While these visual effects look nice, they can also consume system resources, especially on older or less powerful machines. Dialing back these effects can significantly improve responsiveness. Think of it as trading a little bit of visual flair for a noticeable speed boost. It’s like removing the extra weight from your race car.
• Open the Control Panel and go to "System and Security," then System.
• In the System window, click on "Advanced system settings" in the left sidebar.
• In the System Properties window, go to the "Advanced" tab.
• Under the "Performance" section, click on the "Settings" button.
• This will open the Performance Options window, where you'll see a list of visual effects. By default, Windows will choose the settings that it thinks are best for your computer. However, you can customize these settings to your liking.
• For maximum performance, select "Adjust for best performance." This will disable all visual effects.
• Alternatively, you can choose "Custom" and selectively disable individual effects. Some effects have a bigger impact on performance than others. For example, disabling "Animate windows when minimizing and maximizing" and "Fade or slide menus into view" can make a noticeable difference without sacrificing too much visual appeal.
• After making your changes, click "Apply" and then OK.
Expert Perspective: Many gamers swear by disabling visual effects to squeeze every last bit of performance out of their systems. While it might make Windows look a bit less polished, the increase in responsiveness can be well worth it, especially in demanding games.
• Disk Cleanup for a Cleaner System
Over time, your hard drive can become cluttered with temporary files, cached data, and other junk. This not only wastes disk space but can also slow down your system. Regularly running Disk Cleanup can help keep your hard drive tidy and improve performance. It’s like giving your race car a tune-up and removing all the unnecessary baggage.
• Open the Control Panel and go to "System and Security," then "Administrative Tools."
• Double-click on "Disk Cleanup." Alternatively, you can search for "Disk Cleanup" in the Windows search bar and run the utility directly.
• Select the drive you want to clean up (usually your C: drive, where Windows is installed) and click OK.
• Disk Cleanup will scan your drive for files that can be safely removed. This may take a few minutes.
• Once the scan is complete, you'll see a list of file categories that can be cleaned up, such as "Temporary Internet Files," "Recycle Bin," and "Temporary files."
• Check the boxes next to the categories you want to clean up. Be careful not to delete anything you might need, but in general, it's safe to clean up temporary files, cached data, and files in the Recycle Bin.
• Click "OK" to start the cleanup process. This may take a few minutes, depending on the amount of data being removed.
Real-World Case Study: A small business owner I know was struggling with a very slow computer. He was constantly running out of disk space, and his applications were taking forever to load. After running Disk Cleanup and removing several gigabytes of temporary files, his computer became noticeably faster. He was able to free up valuable disk space and improve the overall performance of his system.
• Defragment Your Hard Drive (If Applicable)
Over time, files on your hard drive can become fragmented, meaning that parts of the file are scattered across different locations on the drive. This can slow down access times, as your computer has to work harder to piece the file back together. Defragmenting your hard drive can help to consolidate these fragmented files and improve performance. This step is really only needed for traditional platter-based hard drives (HDDs). Solid State Drives (SSDs) work differently and defragmenting them is generally unnecessary and can even reduce their lifespan. Windows usually optimizes SSDs with TRIM instead, which is handled automatically.
• Open the Control Panel and go to "System and Security," then "Administrative Tools."
• Double-click on "Defragment and Optimize Drives." Alternatively, you can search for "defrag" in the Windows search bar and run the utility directly.
• Select the drive you want to defragment (usually your C: drive).
• If the "Media type" column indicates that the drive is a "Solid state drive," then you don't need to defragment it. Instead, you can click the "Optimize" button to run TRIM, which is the appropriate optimization method for SSDs.
• If the "Media type" column indicates that the drive is a "Hard disk drive," then you can click the "Analyze" button to analyze the drive for fragmentation. This will give you an idea of how fragmented the drive is.
• If the fragmentation is high (e.g., over 10%), then you can click the "Optimize" button to defragment the drive. This may take several hours, depending on the size and fragmentation of the drive.
Important Note: As mentioned before, do NOT defragment SSDs. Only optimize them.
• Uninstall Unused Programs
This might seem obvious, but it's often overlooked. How many programs do you have installed on your computer that you never use? These programs are taking up disk space and potentially running background processes that are slowing down your system. It’s time to get rid of the clutter. Think of it as lightening the load for your race car.
• Open the Control Panel and go to "Programs," then "Programs and Features."
• You'll see a list of all the programs installed on your computer. Take a good look at the list. Do you recognize all of these programs? Are there any that you don't use anymore?
• To uninstall a program, simply select it and click the "Uninstall" button.
• Follow the on-screen instructions to complete the uninstallation process.
Future Predictions: With the increasing popularity of cloud-based applications and web-based services, the need for locally installed programs is gradually decreasing. In the future, we may see a shift towards a more streamlined operating system with fewer pre-installed applications and a greater reliance on web-based tools.
• Tweak Virtual Memory (Page File) Settings
Virtual memory, also known as the page file, is a space on your hard drive that Windows uses as an extension of your RAM. When your RAM is full, Windows moves less frequently used data to the page file. Adjusting the size of the page file can sometimes improve performance, especially on systems with limited RAM. It’s like having a temporary pit stop for your race car.
• Open the Control Panel and go to "System and Security," then System.
• In the System window, click on "Advanced system settings" in the left sidebar.
• In the System Properties window, go to the "Advanced" tab.
• Under the "Performance" section, click on the "Settings" button.
• In the Performance Options window, go to the "Advanced" tab.
• Under the "Virtual memory" section, click on the "Change" button.
• Uncheck the box that says "Automatically manage paging file size for all drives."
• Select the drive where Windows is installed (usually your C: drive).
• Choose "Custom size."
• Enter an initial size and a maximum size for the page file. A good starting point is to set both values to 1.5 times the amount of RAM you have installed. For example, if you have 8GB of RAM, you could set both values to 12288 MB (1.5 x 8192 MB).
• Click "Set" and then OK.
• You'll be prompted to restart your computer. It's a good idea to do so, so the changes can take effect.
Caution: Incorrectly configuring virtual memory can lead to system instability. Only adjust these settings if you know what you're doing.
• Check for Driver Updates
Outdated or corrupted drivers can cause a variety of performance problems. Regularly checking for and installing driver updates can help to ensure that your hardware is working properly and efficiently. It’s like keeping your race car in top mechanical condition.
• Open the Control Panel and go to "Hardware and Sound," then "Device Manager."
• In the Device Manager, you'll see a list of all the hardware devices installed on your computer.
• Look for any devices with a yellow exclamation mark next to them. This indicates that there is a problem with the driver for that device.
• To update a driver, right-click on the device and select "Update driver."
• You'll be prompted to search automatically for updated driver software or to browse your computer for driver software. If you have a driver file that you downloaded from the manufacturer's website, choose the second option.
• Follow the on-screen instructions to complete the driver update process.
Current Trend: Windows Update automatically installs many driver updates. However, it's still a good idea to check for updates manually from time to time, especially for graphics cards and other critical components.
• Disable Unnecessary Services
Windows runs a large number of services in the background, many of which you may not need. Disabling unnecessary services can free up system resources and improve performance. Be careful when disabling services, as disabling essential services can cause system instability. It's like removing unnecessary parts from your race car to make it lighter and faster.
• Open the Control Panel and go to "System and Security," then "Administrative Tools."
• Double-click on Services.Alternatively, you can search for "services.msc" in the Windows search bar and run the Services utility directly.
• You'll see a list of all the services installed on your computer. Take a good look at the list. Do you recognize all of these services? Are there any that you know you don't need?
• To disable a service, right-click on it and select Properties.
• In the Properties window, go to the "General" tab.
• Under the "Startup type" section, select Disabled.
• Click "Apply" and then OK.
Caution: This is an advanced technique. Before disabling any service, research it online to make sure it's safe to disable. A great resource is Black Viper's website, which provides detailed information about Windows services and their dependencies.
So, friends, we've journeyed through the often-underestimated power of the Windows Control Panel to fine-tune your system. We've covered optimizing power options, managing startup programs, adjusting visual effects, cleaning up your disk, defragmenting (if necessary), uninstalling unused programs, tweaking virtual memory, updating drivers, and even disabling unnecessary services. Phew! That's a lot. Remember, each of these tweaks can contribute to a snappier, more responsive Windows 11 experience.
Let's tackle some common questions you might have:
Q: Will these tweaks void my warranty?
A: Generally, no. The tweaks we've discussed are all within the normal range of user-configurable settings. However, if you're unsure, it's always best to check with your computer manufacturer.
Q: I'm not very tech-savvy. Is it safe for me to try these tweaks?
A: Absolutely! We've focused on tweaks that are relatively safe and easy to implement. Just be sure to follow the instructions carefully and research any settings you're unsure about before changing them. When in doubt, leave it alone!
Q: I made a change and now my computer is acting weird. What should I do?
A: Don't panic! The easiest solution is usually to undo the change you made. If you disabled a service, re-enable it. If you changed a visual effect, revert it to the default setting. If you're still having problems, you can try using System Restore to roll back your system to a previous point in time.
Q: How often should I perform these tweaks?
A: It depends on your usage habits. Managing startup programs and cleaning up your disk should be done regularly, perhaps once a month. Other tweaks, like adjusting visual effects and tweaking virtual memory, are usually a one-time thing. Checking for driver updates should be done periodically, especially after installing new hardware.
And now, the moment of truth! Have you taken the steps to optimize your system? Have you unleashed the power of your Windows 11 machine with the Windows Control Panel?
In conclusion, tweaking your Windows 11 system with the Control Panel isn't just about making your computer faster; it's about taking control of your computing experience. It's about understanding how your system works and tailoring it to your specific needs and preferences. By following the tips and techniques we've discussed, you can transform your computer from a sluggish workhorse into a finely tuned machine that's a joy to use. Now is the time to optimize your system and experience the performance boost for yourself!
So go ahead, dive into the Control Panel and start experimenting. Remember to proceed cautiously, research when needed, and always back up your data before making significant changes. Unleash the hidden potential of your Windows 11 system and enjoy a smoother, more responsive computing experience. Now is the time to take action and transform your computer from a tortoise into a hare!
Ready to give your Windows 11 PC a performance boost? Dive into the Control Panel and start tweaking! What are you waiting for?
And remember, a well-tuned computer is a happy computer... and a happy user! So, what are you going to tweak first?
Post a Comment for "Windows 11: Using the Windows Control Panel for System Tweaks"
Post a Comment