Windows 11: Using the Windows Settings App for Personalization
Windows 11 Personalization: Unleash Your Inner Designer with the Settings App
This guide helps you transform your bland Windows 11 desktop into a personalized masterpiece using the Windows Settings App, making your computer trulyyourown.
Step One:Title: Transform Your Windows 11 Experience: A Deep Dive into Personalization Settings
Step Two:
Hey there, tech enthusiasts! Let's face it: out-of-the-box, Windows 11 is… well, it'sfunctional. But "functional" doesn't exactly screamyou, does it? It's like showing up to a party in the same outfit as ten other people – sure, you're dressed, but where's theflair? Where's the personal touch that sets you apart?
We've all been there. You fire up your brand new, shiny Windows 11 machine, and you're greeted by… the default wallpaper. The default theme. The default everything. It’s a bit like ordering a plain bagel – perfectly edible, but desperately craving some cream cheese and maybe a sprinkle of everything bagel seasoning. It gets the job done, but doesn't exactly inspire joy. Or creativity. Or even mild enthusiasm.
The problem? That generic desktop staring back at you day in and day out can be surprisingly soul-crushing. Okay, maybe that’s aslightexaggeration, but think about it:your computer is your window to the digital world. It's where you work, play, connect with friends and family, and even binge-watch your favorite shows (no judgment here!). Shouldn't that space reflectyourpersonality? Shouldn't it be a place that makes you feel inspired, energized, or at the very least, not completely bored?
Imagine for a moment a world where your computer screen greets you with a breathtaking photo of your favorite vacation spot, or a vibrant color scheme that perfectly matches your mood. A world where the sounds your computer makes are actuallypleasant(yes, it's possible!). A world where your taskbar is exactly whereyouwant it, filled with the apps you actually use. This isn't some futuristic fantasy; this is the power of personalization in Windows 11.
Windows 11 understands this need for individuality, and it provides a surprisingly powerful set of tools to help you transform your digital workspace into a true reflection of yourself. And the best part? All of these tools are conveniently located within the Windows Settings app, just waiting to be discovered. No need to download clunky third-party software or mess with complicated registry settings. Everything you need is already built right in.
This isn't just about aesthetics, though. Personalization can also boost your productivity and improve your overall user experience. By customizing your settings to match your workflow, you can streamline your tasks, reduce distractions, and ultimately get more done. Think of it as optimizing your digital environment for maximum efficiency and enjoyment.
So, how do you actuallydoall this? How do you go from a bland, generic Windows 11 experience to a personalized masterpiece? That's exactly what we're going to explore in this comprehensive guide. We'll walk you through all the key personalization settings in Windows 11, providing practical tips, real-world examples, and a few helpful hints along the way.
From changing your wallpaper and accent colors to customizing your taskbar and notification settings, we'll cover everything you need to know to create a Windows 11 environment that truly feels likeyou. And who knows, you might even discover a few hidden gems along the way!
Ready to unlock the full potential of your Windows 11 experience? Let's dive in and discover the power of personalization! What secrets are hidden within the depths of the Windows Settings App, just waiting to be unleashed upon the world? Let's find out!
Step Three:
Diving into Windows 11: Using the Windows Settings App for Personalization
Okay, friends, let’s get into themeatof this personalization party. The Windows Settings App is our key to unlocking a truly customized experience. It might seem daunting at first, but trust me, it’s surprisingly user-friendly once you get the hang of it. We'll break it down into bite-sized pieces, so you can tackle each aspect with confidence.
Mastering the Background Settings
One of the easiest and most impactful ways to personalize your Windows 11 experience is by changing your background. That default image can get oldfast. Let’s ditch it for something more…you.
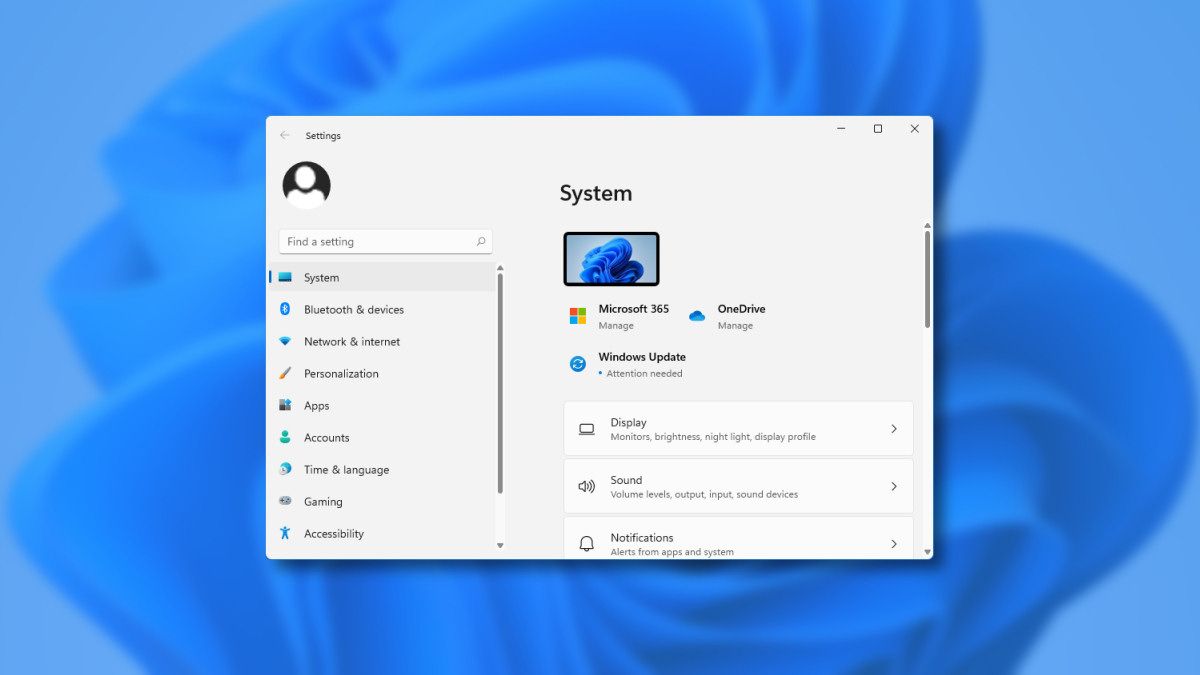
Accessing Background Settings: First, right-click on your desktop and select Personalize.Alternatively, you can open the Settings app (Windows key + I) and click on "Personalization," then Background.Boom! You're there.
Choosing Your Background Type: You’ll see a dropdown menu labeled "Personalize your background." Here, you have several options: Picture: This allows you to choose a static image as your background. You can select from a few pre-selected options, or browse your own photo library. Pro tip: using high-resolution images will prevent pixelation and ensure your background looks crisp and clear. Imagine using that stunning sunset photo you took on vacation. It's a daily reminder of good times!
Solid Color: If you prefer a minimalist look, you can choose a solid color as your background. This can be surprisingly effective, especially if you select a color that complements your overall theme. Think calming blues, energizing greens, or sophisticated grays. This is perfect for those who want a clean, uncluttered look.
Slideshow: For the indecisive among us (no judgment!), the slideshow option allows you to rotate through a folder of images at set intervals. This is a great way to keep your desktop fresh and interesting. You can even set it to shuffle the images for a more random experience. Imagine a slideshow of your favorite travel photos, automatically changing throughout the day.
Windows Spotlight: This is the "surprise me" option. Windows Spotlight automatically downloads stunning images from Bing and sets them as your background. It's a great way to discover beautiful scenery and artwork from around the world. You can even rate the images to help Windows learn your preferences and show you more of what you like.
Fine-Tuning Your Background: Once you’ve chosen your background type, you can further customize it with options like "Choose a fit." This allows you to control how the image is displayed on your screen. Options include "Fill," "Fit," "Stretch," "Tile," "Center," and Span.Experiment with these options to see what looks best with your chosen image and screen resolution. Getting this right can make a huge difference in how visually appealing your desktop is.
The Wonderful World of Themes
Themes are like pre-packaged personalization bundles. They include a combination of background images, accent colors, sounds, and mouse cursors, all designed to create a cohesive and visually appealing experience.
Accessing Themes: Back in the Personalization settings, click on Themes.Here, you’ll find a selection of pre-installed themes, as well as the option to download more themes from the Microsoft Store.
Exploring Pre-Installed Themes: Windows 11 comes with a variety of themes to suit different tastes. Some are light and airy, while others are dark and moody. Take some time to browse through the options and see which one resonates with you. Remember, you can always customize a theme further to make it truly your own.
Downloading Themes from the Microsoft Store: The Microsoft Store offers a vast library of free and paid themes. You can find themes based on everything from nature and architecture to pop culture and abstract art. Downloading a theme is as easy as clicking a button. Once downloaded, the theme will appear in your list of available themes.
Customizing a Theme: Even if you love a particular theme, you might want to tweak it slightly to better suit your preferences. You can customize the background, colors, sounds, and mouse cursor of any theme. To do this, simply click on the "Customize" button next to the theme you want to modify. This will take you to the individual settings pages for each of these elements.
Color Me Impressed: Accent Colors and More
Accent colors are the colors that are used throughout the Windows interface, including in the Start menu, taskbar, window borders, and more. Choosing the right accent color can significantly impact the overall look and feel of your system.
Accessing Color Settings: In the Personalization settings, click on Colors.Here, you’ll find a range of options for customizing your accent colors.
Choosing an Accent Color: You can let Windows automatically choose an accent color based on your background image, or you can manually select a color from the color palette. If you're feeling adventurous, you can even create a custom color using the color picker.
Choosing a Mode: You can choose between "Light," "Dark," and "Custom" modes. Light mode uses light colors for most of the interface, while dark mode uses dark colors. Custom mode allows you to specify different modes for Windows and your apps. Dark mode is particularly popular these days, as it can reduce eye strain and save battery life on devices with OLED screens.
Transparency Effects: You can also enable or disable transparency effects for the Start menu, taskbar, and other elements. Transparency can add a subtle touch of elegance to your system, but it can also impact performance on older hardware. Experiment with this setting to see what works best for you.
Locking Down the Lock Screen
The lock screen is the screen that appears when you lock your computer. It's another opportunity to add a personal touch and make your system feel more welcoming.
Accessing Lock Screen Settings: In the Personalization settings, click on "Lock screen." Here, you’ll find a variety of options for customizing your lock screen.
Choosing a Lock Screen Background: You can choose a picture, a slideshow, or Windows Spotlight as your lock screen background. The options are similar to those available for the desktop background.
Lock Screen Status: You can choose to display status information on the lock screen, such as the date, time, and weather. You can also choose to display notifications from specific apps.
Screen Timeout Settings: You can configure how long your screen will stay on before it turns off automatically. This can help save battery life on laptops and tablets.
Taskbar Tweaks and Tricks
The taskbar is the strip at the bottom of your screen that contains the Start menu, the search box, and icons for your running apps. You can customize the taskbar to make it more efficient and personalized.
Accessing Taskbar Settings: In the Personalization settings, click on Taskbar.Here, you’ll find a range of options for customizing your taskbar.
Taskbar Behaviors: You can choose to automatically hide the taskbar when it's not in use, change the taskbar location on the screen, and group similar app icons together. Hiding the taskbar can free up more screen space, while changing the taskbar location can make it more comfortable to use.
Taskbar Items: You can choose which icons are displayed on the taskbar, such as the search box, the task view button, and the widgets button. Disabling unnecessary icons can declutter the taskbar and make it easier to find what you're looking for.
System Tray Icons: You can choose which icons are displayed in the system tray (the area in the lower-right corner of the screen that contains icons for things like the network connection, the volume control, and the battery indicator). Again, decluttering is key!
Start Menu Magic
The Start menu is your gateway to all the apps and settings on your computer. You can customize the Start menu to make it more organized and efficient.
Accessing Start Menu Settings: In the Personalization settings, click on Start.Here, you’ll find options for customizing the Start menu.
Choose Which Folders Appear on Start: You can choose which folders appear on the Start menu, such as the Documents folder, the Pictures folder, and the Settings folder. This can make it easier to access your most frequently used folders.
Show Recently Added Apps: You can choose to show recently added apps on the Start menu. This can help you discover new apps that you might find useful.
Fonts: A Matter of Style
Don't underestimate the power of fonts! Choosing the right font can make your text more readable and visually appealing.
Accessing Font Settings: In the Personalization settings, search for "Fonts" and click on "Fonts settings." This will take you to the Fonts settings page.
Choosing a Font: You can browse through the list of available fonts and preview how they look. You can also download and install new fonts from the Microsoft Store or from other sources.
Font Size: You can adjust the font size for different parts of the Windows interface. This can be helpful if you have trouble reading small text.
By taking the time to explore these personalization settings, you can transform your Windows 11 experience from a generic, one-size-fits-all affair into a customized masterpiece that truly reflects your personality and preferences. So go ahead, unleash your inner designer and create a Windows 11 environment that you'll love to use every day!
Step Four:
Alright, friends, we've reached the end of our personalization journey! We've explored the depths of the Windows 11 Settings App, uncovered hidden gems, and learned how to transform a bland, generic desktop into a personalized masterpiece. From customizing backgrounds and themes to tweaking taskbar settings and choosing the perfect font, you now have the tools to create a Windows 11 environment that truly feels likeyou.
Remember, personalization isn't just about aesthetics. It's about creating a digital workspace that is both visually appealing and highly functional. By optimizing your settings to match your workflow, you can boost your productivity, reduce distractions, and improve your overall user experience.
So, what's the next step? It's time to put your newfound knowledge into action! Dive into the Windows Settings App, experiment with different settings, and unleash your inner designer. Don't be afraid to try new things and see what works best for you.
Take justfive minutestoday to changeonething about your Windows 11 personalization settings. Maybe it's changing your background to a picture of your favorite pet, or switching to dark mode to reduce eye strain. Whatever you choose, just take that first step towards creating a more personalized and enjoyable Windows 11 experience.
And remember, this isn't a one-time thing. Personalization is an ongoing process. As your tastes and preferences evolve, so too should your Windows 11 environment. Don't be afraid to revisit these settings periodically and make adjustments as needed.
So go forth and personalize! Make your Windows 11 experience trulyyourown. Create a digital workspace that inspires you, motivates you, and makes you happy to log in every day. Because in the end, your computer should be a reflection of who you are, not just a tool you use. It's your digital home, after all!
Now, with your personalized Windows 11 setup, are you ready to conquer the digital world, one perfectly customized pixel at a time? Go get 'em, tiger!
Post a Comment for "Windows 11: Using the Windows Settings App for Personalization"
Post a Comment