Windows 11: Customizing Your Desktop for Productivity
Windows 11: Transform Your Desktop into a Productivity Powerhouse
Hey there, tech enthusiasts! Feeling a bitblahabout your Windows 11 desktop? Does staring at the same old icons and generic background make you want to reach for the snooze button instead of tackling your to-do list? You're not alone. Let's explore how to customize your Windows 11 desktop and turn it into a productivity command center that actuallyinspiresyou to work (or play!).
Transform your Windows 11 desktop into a productivity powerhouse! Learn how to customize themes, taskbar, widgets, and more to create a workspace that boosts efficiency.
Unlock Your Productivity Potential: Customizing Windows 11
Let's face it, the default Windows 11 desktop, while sleek, can feel a little…generic. It's like a blank canvas waiting for your personal touch, and more importantly, a productivity boost. A well-organized and visually appealing desktop can significantly impact your focus and efficiency. Think of it this way: would you rather work in a cluttered, chaotic office or a clean, organized, and inspiring space? The same principle applies to your digital workspace.
We've all been there – drowning in a sea of icons, struggling to find thatonefile we desperately need, or just feeling uninspired by the monotonous visual experience. This can lead to wasted time, frustration, and a general lack of motivation. But fear not! Windows 11 offers a wealth of customization options to transform your desktop into a productivity haven.
This article will guide you through the essential customization techniques, from tweaking themes and personalizing the taskbar to utilizing widgets and virtual desktops. We'll show you how to tailor your Windows 11 environment toperfectlymatch your workflow and preferences. Get ready to say goodbye to desktop boredom and hello to a productivity-boosting, personalized experience! Ready to unleash the power of your Windows 11 desktop? Let’s get started!
Personalizing Windows 11: Themes and Backgrounds
Diving into Themes for Visual Harmony
Windows 11 themes are more than just pretty pictures; they’re coordinated sets of backgrounds, colors, sounds, and even mouse cursors that create a cohesive visual experience. Think of them as curated desktop ensembles designed to enhance your mood and focus.
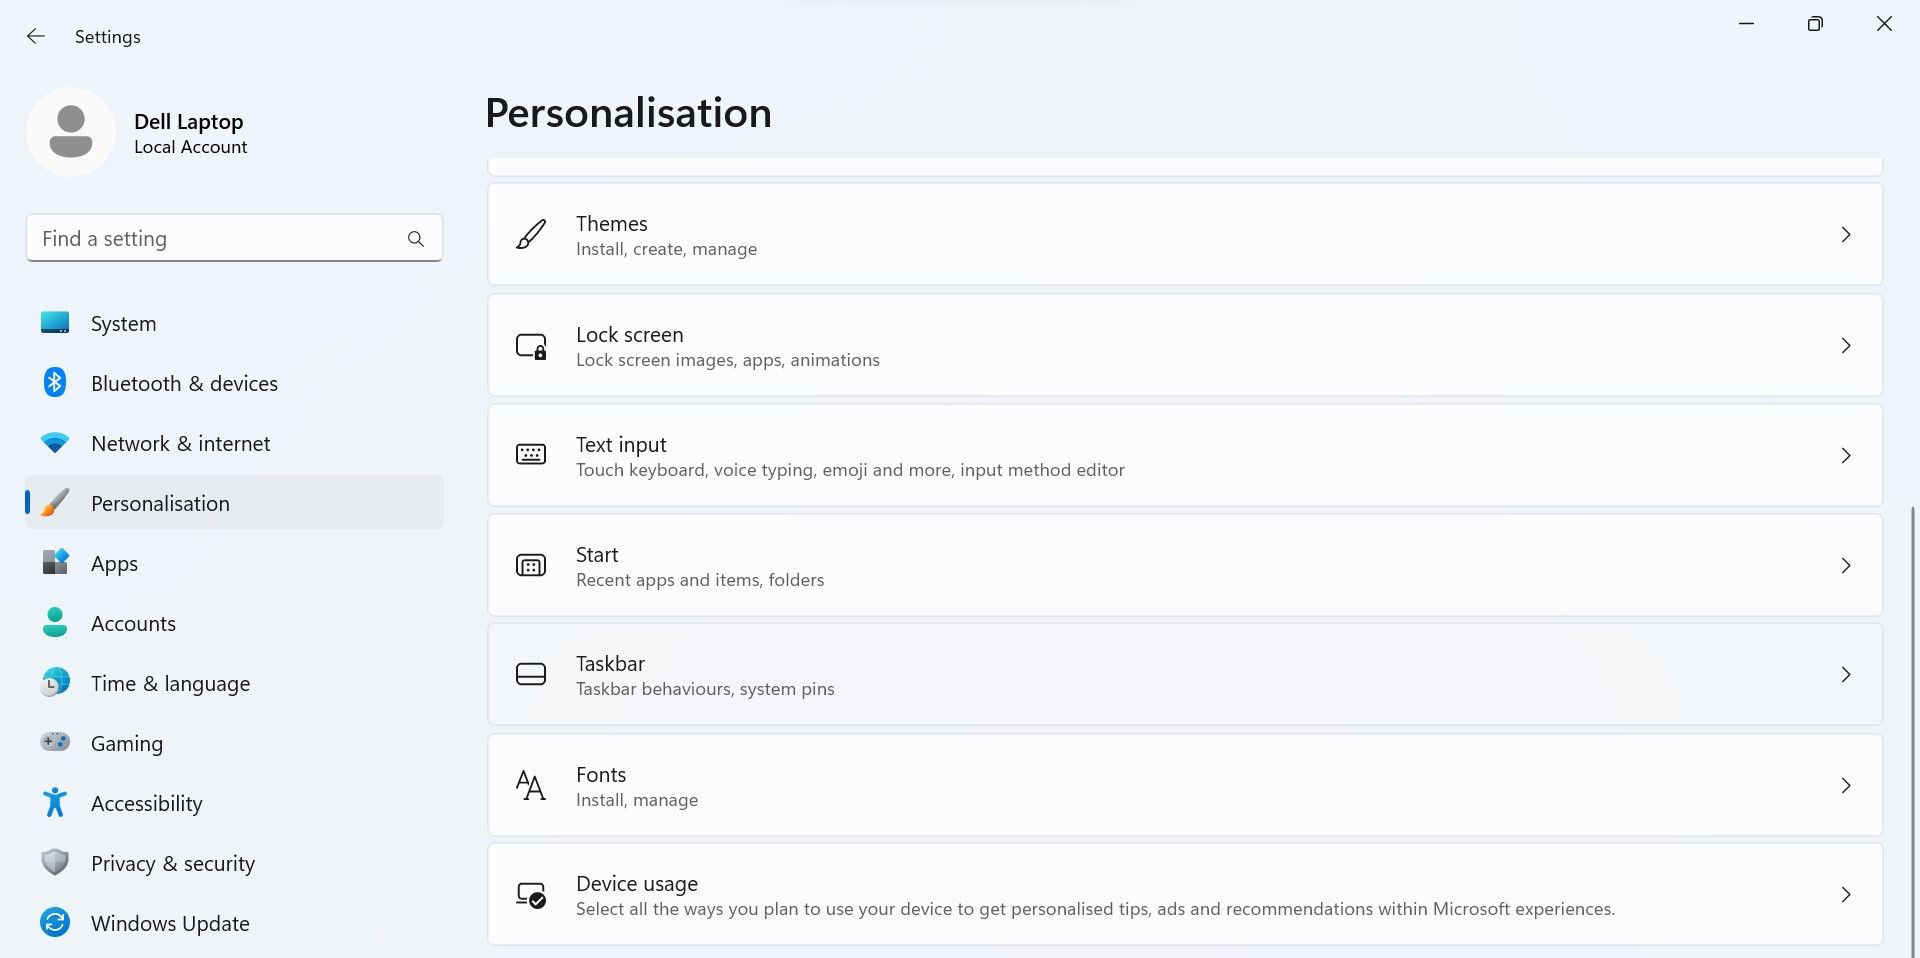
Changing your theme is super easy. Just right-click on your desktop and select Personalize.From there, navigate to Themes.Windows 11 offers a selection of pre-built themes, ranging from serene landscapes to vibrant abstract designs. Feel free to browse and preview them until you find one thatresonateswith you.
But the real fun begins when you start customizing themes. You can mix and match elements from different themes, or even create your own from scratch. For instance, maybe you love the background from one theme but prefer the accent colors of another. No problem! Windows 11 lets you pick and choose the aspects you like the most.
Don't underestimate the impact of color. Studies have shown that certain colors can influence our mood and cognitive performance. Experiment with different accent colors in your theme settings to see what works best for you. Perhaps a calming blue hue helps you focus, or maybe a vibrant orange energizes you. The possibilities are endless!
Crafting a Custom Background That Inspires
The desktop background is the first thing you see when you log into your computer, so it's crucial to choose something that motivates and inspires you. Ditch the default Windows wallpaper and opt for something that truly reflects your personality and goals.
Windows 11 offers several options for setting your background. You can choose a single image, create a slideshow of your favorite photos, or even select a solid color. For maximum personalization, consider using a high-resolution photograph that you've taken yourself. A picture of your favorite vacation spot, a beloved pet, or a personal accomplishment can serve as a constant reminder of what you're working towards.
If you prefer something more abstract, there are countless websites that offer free high-quality wallpapers. Just do a quick Google search for "free desktop wallpapers" and you'll be flooded with options.
For those who like a little visual variety, the slideshow option is a great choice. Windows 11 will automatically cycle through a folder of images at a specified interval, keeping your desktop fresh and engaging. This is a fantastic way to showcase your travel photos, family memories, or inspiring artwork.
Pro Tip: Keep your background clean and uncluttered. Avoid images with too much detail or distracting patterns, as they can make it harder to focus on your work. Choose something visually appealing but not overly stimulating.
Taming the Taskbar: Streamlining Your Workflow
Optimizing the Taskbar for Quick Access
The taskbar is your primary navigation hub in Windows 11, and optimizing it for quick access can significantly boost your productivity. By default, the taskbar displays pinned apps, running programs, and system tray icons. However, you can customize it to better suit your needs.
Start by unpinning any apps that you don't use regularly. Right-click on the app icon and select "Unpin from taskbar." This will declutter your taskbar and make it easier to find the apps you actually need.
Next, consider pinning your most frequently used apps to the taskbar. Simply right-click on the app icon in the Start menu or on the desktop and select "Pin to taskbar." This will ensure that your essential tools are always just a click away.
Windows 11 also allows you to customize the taskbar's behavior. Right-click on the taskbar and select "Taskbar settings." Here, you can choose to automatically hide the taskbar when you're not using it, change its location on the screen, or even combine taskbar buttons when the taskbar is full. Experiment with these settings to find what works best for you.
For example, if you're working on a laptop with limited screen space, automatically hiding the taskbar can free up valuable real estate. Or, if you prefer to have your taskbar on the side of the screen, you can easily move it there.
Mastering Taskbar Settings for Efficiency
The Taskbar settings offer a plethora of options to enhance your workflow. One of the most useful features is the ability to customize the system tray, which is the area in the lower-right corner of the screen that displays icons for background processes and notifications.
By default, the system tray can become cluttered with unnecessary icons. To declutter it, go to "Taskbar settings" and then click on "Other system tray icons." Here, you can choose which icons to show or hide. Disable the icons for programs that you don't need to see constantly, such as update utilities or cloud storage services.
Another handy feature is the ability to customize the taskbar's behavior when you hover over it. You can choose to show or hide badges on taskbar buttons, which are small icons that indicate new notifications. You can also enable or disable the peek preview, which allows you to see a thumbnail preview of a window when you hover over its taskbar button.
Finally, consider using the taskbar search feature to quickly find files, apps, and settings. Simply click on the search icon in the taskbar or press the Windows key + S to open the search bar. Type in what you're looking for, and Windows 11 will display relevant results. This is a much faster way to find things than navigating through the Start menu or File Explorer.
Widgets and Snap Layouts: Maximizing Screen Real Estate
Leveraging Widgets for Information at a Glance
Windows 11 widgets are mini-applications that provide quick access to information and functionality. They're like customizable dashboards that sit right on your desktop, giving you real-time updates on news, weather, sports, and more.
To access the widgets panel, simply click on the widgets icon in the taskbar. This will open a panel on the left side of the screen that displays your widgets.
Windows 11 offers a variety of pre-built widgets, including news headlines, weather forecasts, stock prices, sports scores, and calendar events. You can also add widgets from third-party apps.
To add a widget, click on the "+" button in the widgets panel and select the widget you want to add. You can then customize the widget's settings, such as the location for weather forecasts or the teams for sports scores.
Widgets are a great way to stay informed without having to constantly switch between apps. For example, you can keep an eye on the stock market while you're working on a spreadsheet, or check the weather before you head out for lunch.
Mastering Snap Layouts for Multitasking Efficiency
Snap layouts are a powerful multitasking feature in Windows 11 that allows you to quickly arrange windows on your screen. Instead of manually resizing and positioning windows, you can simply drag a window to the top of the screen and choose a snap layout from the options that appear.
Windows 11 offers several different snap layouts, including side-by-side, stacked, and quadrant layouts. You can choose the layout that best suits your needs and the number of windows you want to arrange.
To use snap layouts, simply drag a window to the top of the screen. A translucent overlay will appear, showing you the available snap layouts. Select the layout you want, and the window will automatically resize and position itself accordingly.
Snap layouts are a huge time-saver, especially when you're working with multiple applications at once. Instead of wasting time manually arranging windows, you can use snap layouts to quickly create a productive workspace.
For example, you might use a side-by-side layout to compare two documents, or a quadrant layout to have a browser window, a text editor, a spreadsheet, and an email client all visible at the same time.
Virtual Desktops: Organizing Your Digital Life
Creating and Managing Virtual Desktops
Virtual desktops are like multiple monitors on a single screen. They allow you to create separate workspaces for different tasks, projects, or even your personal and professional lives.
To create a virtual desktop, press the Windows key + Ctrl + D. This will create a new, blank desktop. You can then switch between virtual desktops by pressing the Windows key + Ctrl + Left arrow or Windows key + Ctrl + Right arrow.
Each virtual desktop has its own set of windows and applications. This means you can have one desktop for work, one for personal browsing, and one for gaming, all without having to close or minimize any windows.
Virtual desktops are a fantastic way to stay organized and focused. By separating your tasks into different workspaces, you can avoid distractions and concentrate on the task at hand.
For example, you might use one virtual desktop for writing articles, another for managing social media, and another for browsing the web. This way, you can easily switch between tasks without getting bogged down in a sea of open windows.
Customizing Virtual Desktop Settings for Enhanced Productivity
Windows 11 allows you to customize your virtual desktop settings to further enhance your productivity. You can rename your virtual desktops, change their backgrounds, and even choose which apps appear on all desktops.
To customize your virtual desktop settings, press the Windows key + Tab to open the Task View. Then, hover over the virtual desktop you want to customize and click on the three dots that appear in the upper-right corner.
From here, you can rename the virtual desktop, choose a different background, or pin apps to all desktops. Pinning an app to all desktops means that the app will be visible and accessible from any virtual desktop. This is useful for apps that you use frequently, such as your email client or web browser.
Renaming your virtual desktops can help you stay organized and remember what each desktop is used for. For example, you might rename one desktop "Work," another "Personal," and another Gaming.Choosing different backgrounds for your virtual desktops can also help you visually distinguish between them. This makes it easier to quickly switch to the correct desktop without having to think about it.
Advanced Customization: Tweaking the Registry (Proceed with Caution!)
Exploring Registry Tweaks for Experienced Users
_Caution: Modifying the Windows Registry can be risky. Incorrect changes can cause system instability or even prevent your computer from starting. Only proceed if you are comfortable with editing the registry and have a backup of your system._
For advanced users who want to take their Windows 11 customization to the next level, the Registry Editor offers a wide range of options. However, it's important to proceed with caution and only make changes that you fully understand.
The Registry Editor is a hierarchical database that stores low-level settings for Windows and its applications. By modifying registry keys, you can tweak various aspects of the operating system, such as the appearance of the user interface, the behavior of certain features, and the performance of your hardware.
Before making any changes to the registry, it's crucial to create a backup. This will allow you to restore the registry to its previous state if something goes wrong. To create a backup, open the Registry Editor (regedit.exe), click on "File," and then select Export.Choose a location to save the backup file and give it a descriptive name.
Examples of Useful Registry Tweaks (Use at Your Own Risk!)
Here are a few examples of useful registry tweaks that you can try (at your own risk): Disable transparency effects: Transparency effects can be visually appealing, but they can also consume system resources. To disable transparency effects, navigate to `HKEY_CURRENT_USER\Software\Microsoft\Windows\Current Version\Themes\Personalize` and set the value of `Enable Transparency` to 0. Show hidden files and folders: By default, Windows hides certain files and folders to prevent accidental deletion or modification. To show hidden files and folders, navigate to `HKEY_CURRENT_USER\Software\Microsoft\Windows\Current Version\Explorer\Advanced` and set the value of `Hidden` to
1. Disable the lock screen:The lock screen can be annoying if you want to quickly access your desktop. To disable the lock screen, navigate to `HKEY_LOCAL_MACHINE\SOFTWARE\Policies\Microsoft\Windows\Personalization` and create a new DWORD value named `No Lock Screen`. Set the value of `No Lock Screen` to
1.
Remember to restart your computer after making any changes to the registry for the changes to take effect.
Windows 11 Customization for Enhanced Productivity: Wrapping Up
We've journeyed through a treasure trove of tips and tricks to transform your Windows 11 desktop into a productivity powerhouse. From personalizing themes and streamlining the taskbar to mastering widgets, snap layouts, and virtual desktops, you're now equipped to create a workspace that truly reflects your needs and preferences. Remember to proceed with caution when venturing into advanced customization like registry editing and only make changes that you fully understand. Incorrect changes can lead to system instability, so always back up your registry before making any modifications.
Now that you've learned how to customize your Windows 11 desktop for enhanced productivity, it's time to put these skills into action. Start by experimenting with different themes, backgrounds, and taskbar settings to find what works best for you. Then, explore the power of widgets and snap layouts to maximize your screen real estate and streamline your workflow. Finally, take advantage of virtual desktops to organize your digital life and stay focused on the task at hand.
Ready to say goodbye to desktop boredom and hello to a productivity-boosting, personalized experience? It's time to take control of your digital workspace and unlock your full potential!
Take action now and start customizing your Windows 11 desktop today! Remember, a personalized workspace is a productive workspace. Get to it, and remember to have fun along the way!
Post a Comment for "Windows 11: Customizing Your Desktop for Productivity"
Post a Comment